Growing cannabis has been a favorite hobby and task of many cannabis enthusiasts. With the advantage to grow their weed and relish the yield, who doesn’t want to engage in such endeavor? But what will be your option if you want to grow a small quantity of weed, but you do not have a lot of space and money?
Space bucket cannabis growing is a good choice to go. You can create one from affordable materials that are available in many hardware stores. Later in this article, you will learn what comprises this progressively famous micro-grow strategy.
What is Space Bucket?
A space bucket brings together the entire components of a growing area into a little, independent environment. It has a room that can cater to at least a single cannabis plant, along with the lighting, power supply, and fans intended for ventilation.
A regular space bucket is built from a common 5-gallon bucket, although the ultimate layout is only restricted by the vision and attainable space. Consider waste bins and storage totes if you plan to bolster your choice.
Why Should You Grow Cannabis in Space Bucket?
Cultivating cannabis in a space bucket offers three major benefits: affordability, small footprint, and complete control.
Affordability
Space buckets are affordable to create. This micro-setting will only consume a minimal amount for the materials. A lot of the items that you will require can be seen in the house or be bought at any store that offers household items.
Small footprint
Space buckets only consume a little space, which makes them best for dorm rooms, apartments, congested homes. If you have available space in the closet, a bit of space in your garage, or a little place beneath the kitchen sink, it will be possible to cultivating cannabis in space bucket.
Cover up the bucket by enclosing it with other storage containers and keeping the wires in a place where there are frequent people. There should be no one to notice the lights the bucket is secured. However, they may hear a little hum coming from the fans.
Complete Control
Many space bucket cultivators opt for this option because they want to test the boundaries of the possibilities with their small space. Secured micro-environments offer you complete control when it comes to growing – however, that comes not only advantages but also disadvantages.
A bit of misstep that can easily be rectified in a big grow room can be sufficient to slay the plants in the space bucket. However, if you can keep the steadiness in feed, lighting, and the levels of pH, you can try and assess what a bit of alteration to one condition can do.
To perform this, assemble at least 2 space buckets to cultivate similar strain under various conditions. You can prepare distinctly, twist one so that it blooms early, or consider trying another nutrient. Quickly, you will learn which approach was more suitable. Use what exhibits to be the best on your next cannabis growing in space bucket or incorporate your recently discovered knowledge into a larger grow.
Guide on Growing on a Space Bucket
You can readily buy a pre-made space bucket; however, if you want to go cheaper, then you should make your own. To do so, you will need to secure the following materials and tools:
- 1×5 gallon plastic bucket lid
- 2×5 gallon plastic buckets
- 2 little fans
- 180W full-spectrum LED grow light
- Timer
- Power strip
- 1m of fine rope
- 4x6mm bolts equipped with nuts and washers
- 1 tube silicone sealant
- Spray glue
- Measuring tape
- Permanent marker
- Duct tape
- Mylar film
- Drill
- Rotary tool
- Razorblade
- Screwdriver
- Safety glasses
Procedures:
1. Create the Drip Tray
Calibrate 8-centimeter up from the base of one bucket and layout a level line. Do not forget to wear safety glasses. Cut near the line using the rotary tool.
In the meantime, set aside the base of the bucket. The base of the bucket will serve as the drip tray. The top will serve as the top part of the space bucket.
2. Bore Holes for Drainage
Reverse the other bucket. Bore twelve holes equally scattered throughout the base for drainage. Take off the handle. The base of the space bucket settles over the drip tray.
3. Put Bolts and Slots to Secure Together the Two Buckets
Bore 4 holes in the base portion of the space bucket. They must be 4-centimeter coming from the top rim and equally spaced apart. Tuck in a bolt in every hole and fasten with nuts and washers.
Place the top portion on the base section, letting it settle on the bolts. Illustrate the locations of the bolts, then mark up 4-centimeter and more than 4-centimeter to create a shape of L. They must all lead in a similar direction.
Then get the rotary tool to do the cutting of the L-shaped label to create a 6-mm channel. Place the top portion on the base. Organize the bolts together with the channels in such a way that the top descends over the base. Twirl to close. Perk up with the handle to ensure you have guaranteed the fit.
4. Create Cutouts Intended for the Fans
Isolate the upper and lower parts. Take off the one cover from one fan. Utilize the cover to label the cutout and setting up holes on the lowest part. This must be performed around 8-centimeter from measuring from the top rim.
For safety purposes, wear safety glasses. Create the mounting holes by using a drill. Then create a cutout meant for the output of the fan by using a rotary tool.
Perform the same process for the upper portion.
5. Put LED Lights to the LID
Locate the mounting holes over the LED light. Wrap the top section of the LED light through a paper. Track the placements of the mounting holes, fan intake, and power cord.
Utilize a paper to serve as a pattern to move the placements to the bucket lid. Again, put on your safety glasses.
Make an opening intended for the electrical cord and mounts using a drill. To make a hole for the fan intake, create a bigger one using a dermal tool. Take off the upper lid from the LED lighting. It must simply pop off.
Take off the screws meant to press the mounting holes. Tuck in every screw with a washer, then with the bucket lid, with the upper of the LED light. Rigidify through a nut. Turn around the fan to make it blow out, if possible. Reattach the LED light to the lid, which is not connected to the bucket lid.
6. Improve Reflectivity
With a spray glue, mark the interior of the buckets using Mylar film to improve reflectivity. Wrap the exterior of both the drip tray and bucket with duct tape to inhibit leaking of lights.
Do not wrap the base of the bucket through the drain holes. Cut the Mylar film and tape using a razor blade to recover the cutouts of the fan.
7. Fasten Between the Bottom and Top Buckets
Make a seal that works between the base of the rim of the bucket and the four bolts using a rope and a duct tape. Secure the top to the base and assess the fit. Keep on putting duct tape through the rope one layer each time until you notice the gap to be closed.
8. Mount the Fans
The intake fan must be installed in the base bucket. Imbed the body of the fan in such a way that the grill is positioned inside the bucket. Imbed the screw and fasten to avoid air leaks.
Perform the process to mount the exhaust fan to the base bucket. Close any gaps in the middle of the fan housing and bucket with a silicone tube.
9. Plugin the Parts and Test Functionality
Set up the bucket. Directly plug the fans to the power strip. Plug your LED light to the timer. The timer is plugged into the power strip. Plug the power outlet and confirm all things are running as it is.
10. Put Cannabis Plants and Cultivate
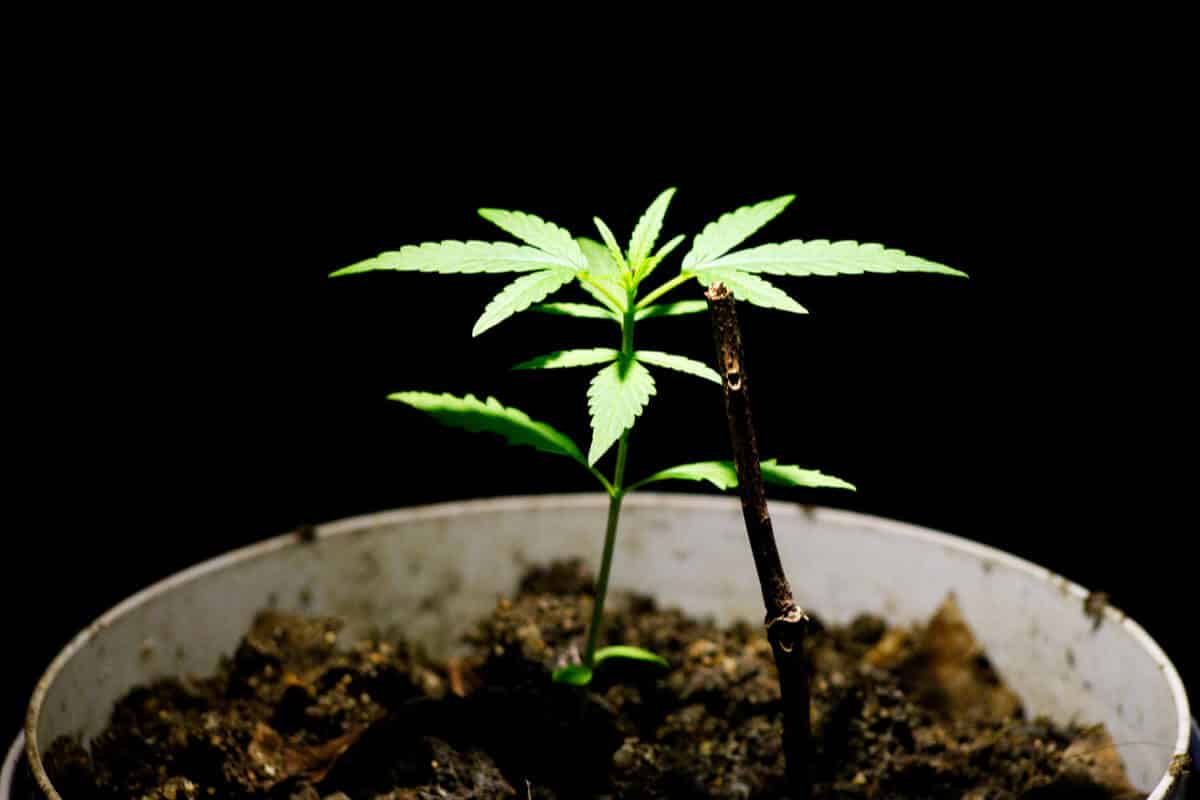
Put a pot with a little seedling. Set up the timer. Then water and feed until the period of harvest. Normally, you can create a yield of around 28 grams per growth for this kind of cultivation.
Conclusion
Space buckets are incredible projects that assert cultivators and let them go beyond the confinement of their smaller scale. You will appreciate them as they can create a small number of sticky buds with just minimal resources. However, the concluding yield is not what space bucket cannabis growing is all about.
The concept of space bucket cannabis growing is to teach you how to entirely regulate each element of a micro-setting to adapt what augments potency, resin content, flavor, and other enticing characteristics. Whether you utilize those skills to enhance your succeeding space bucket growing or continue it to a larger-sized grow depends on you.


