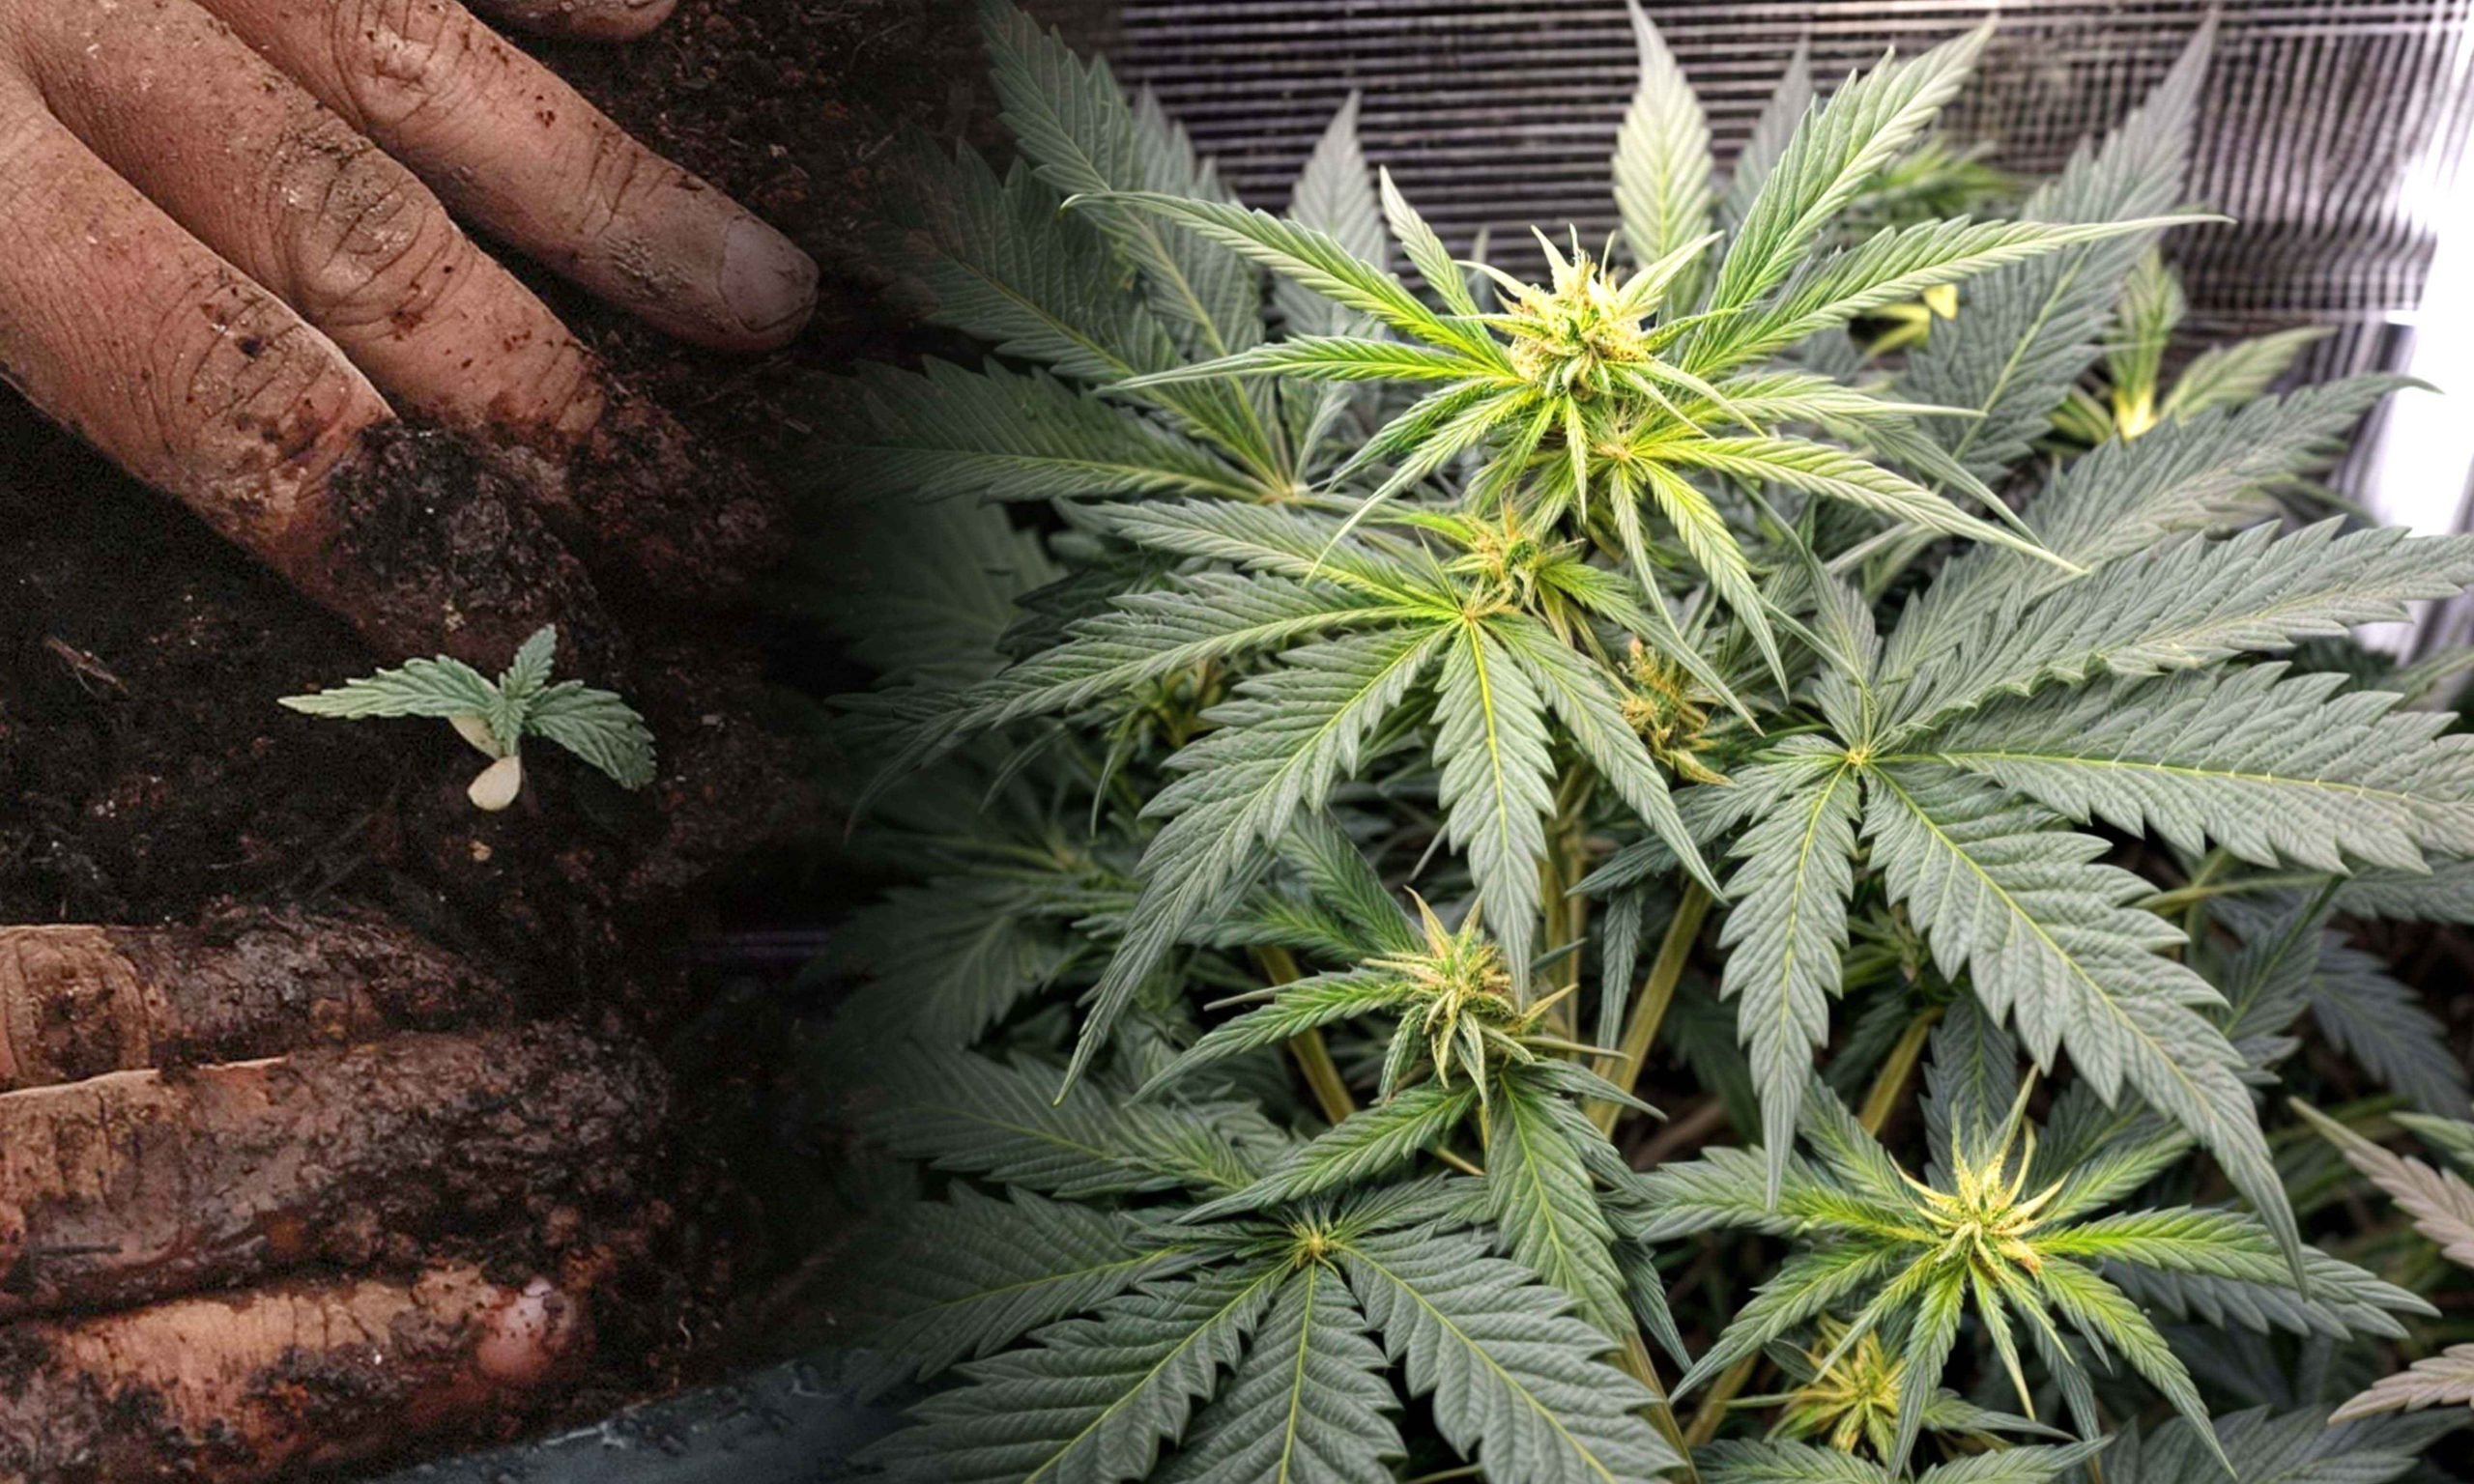
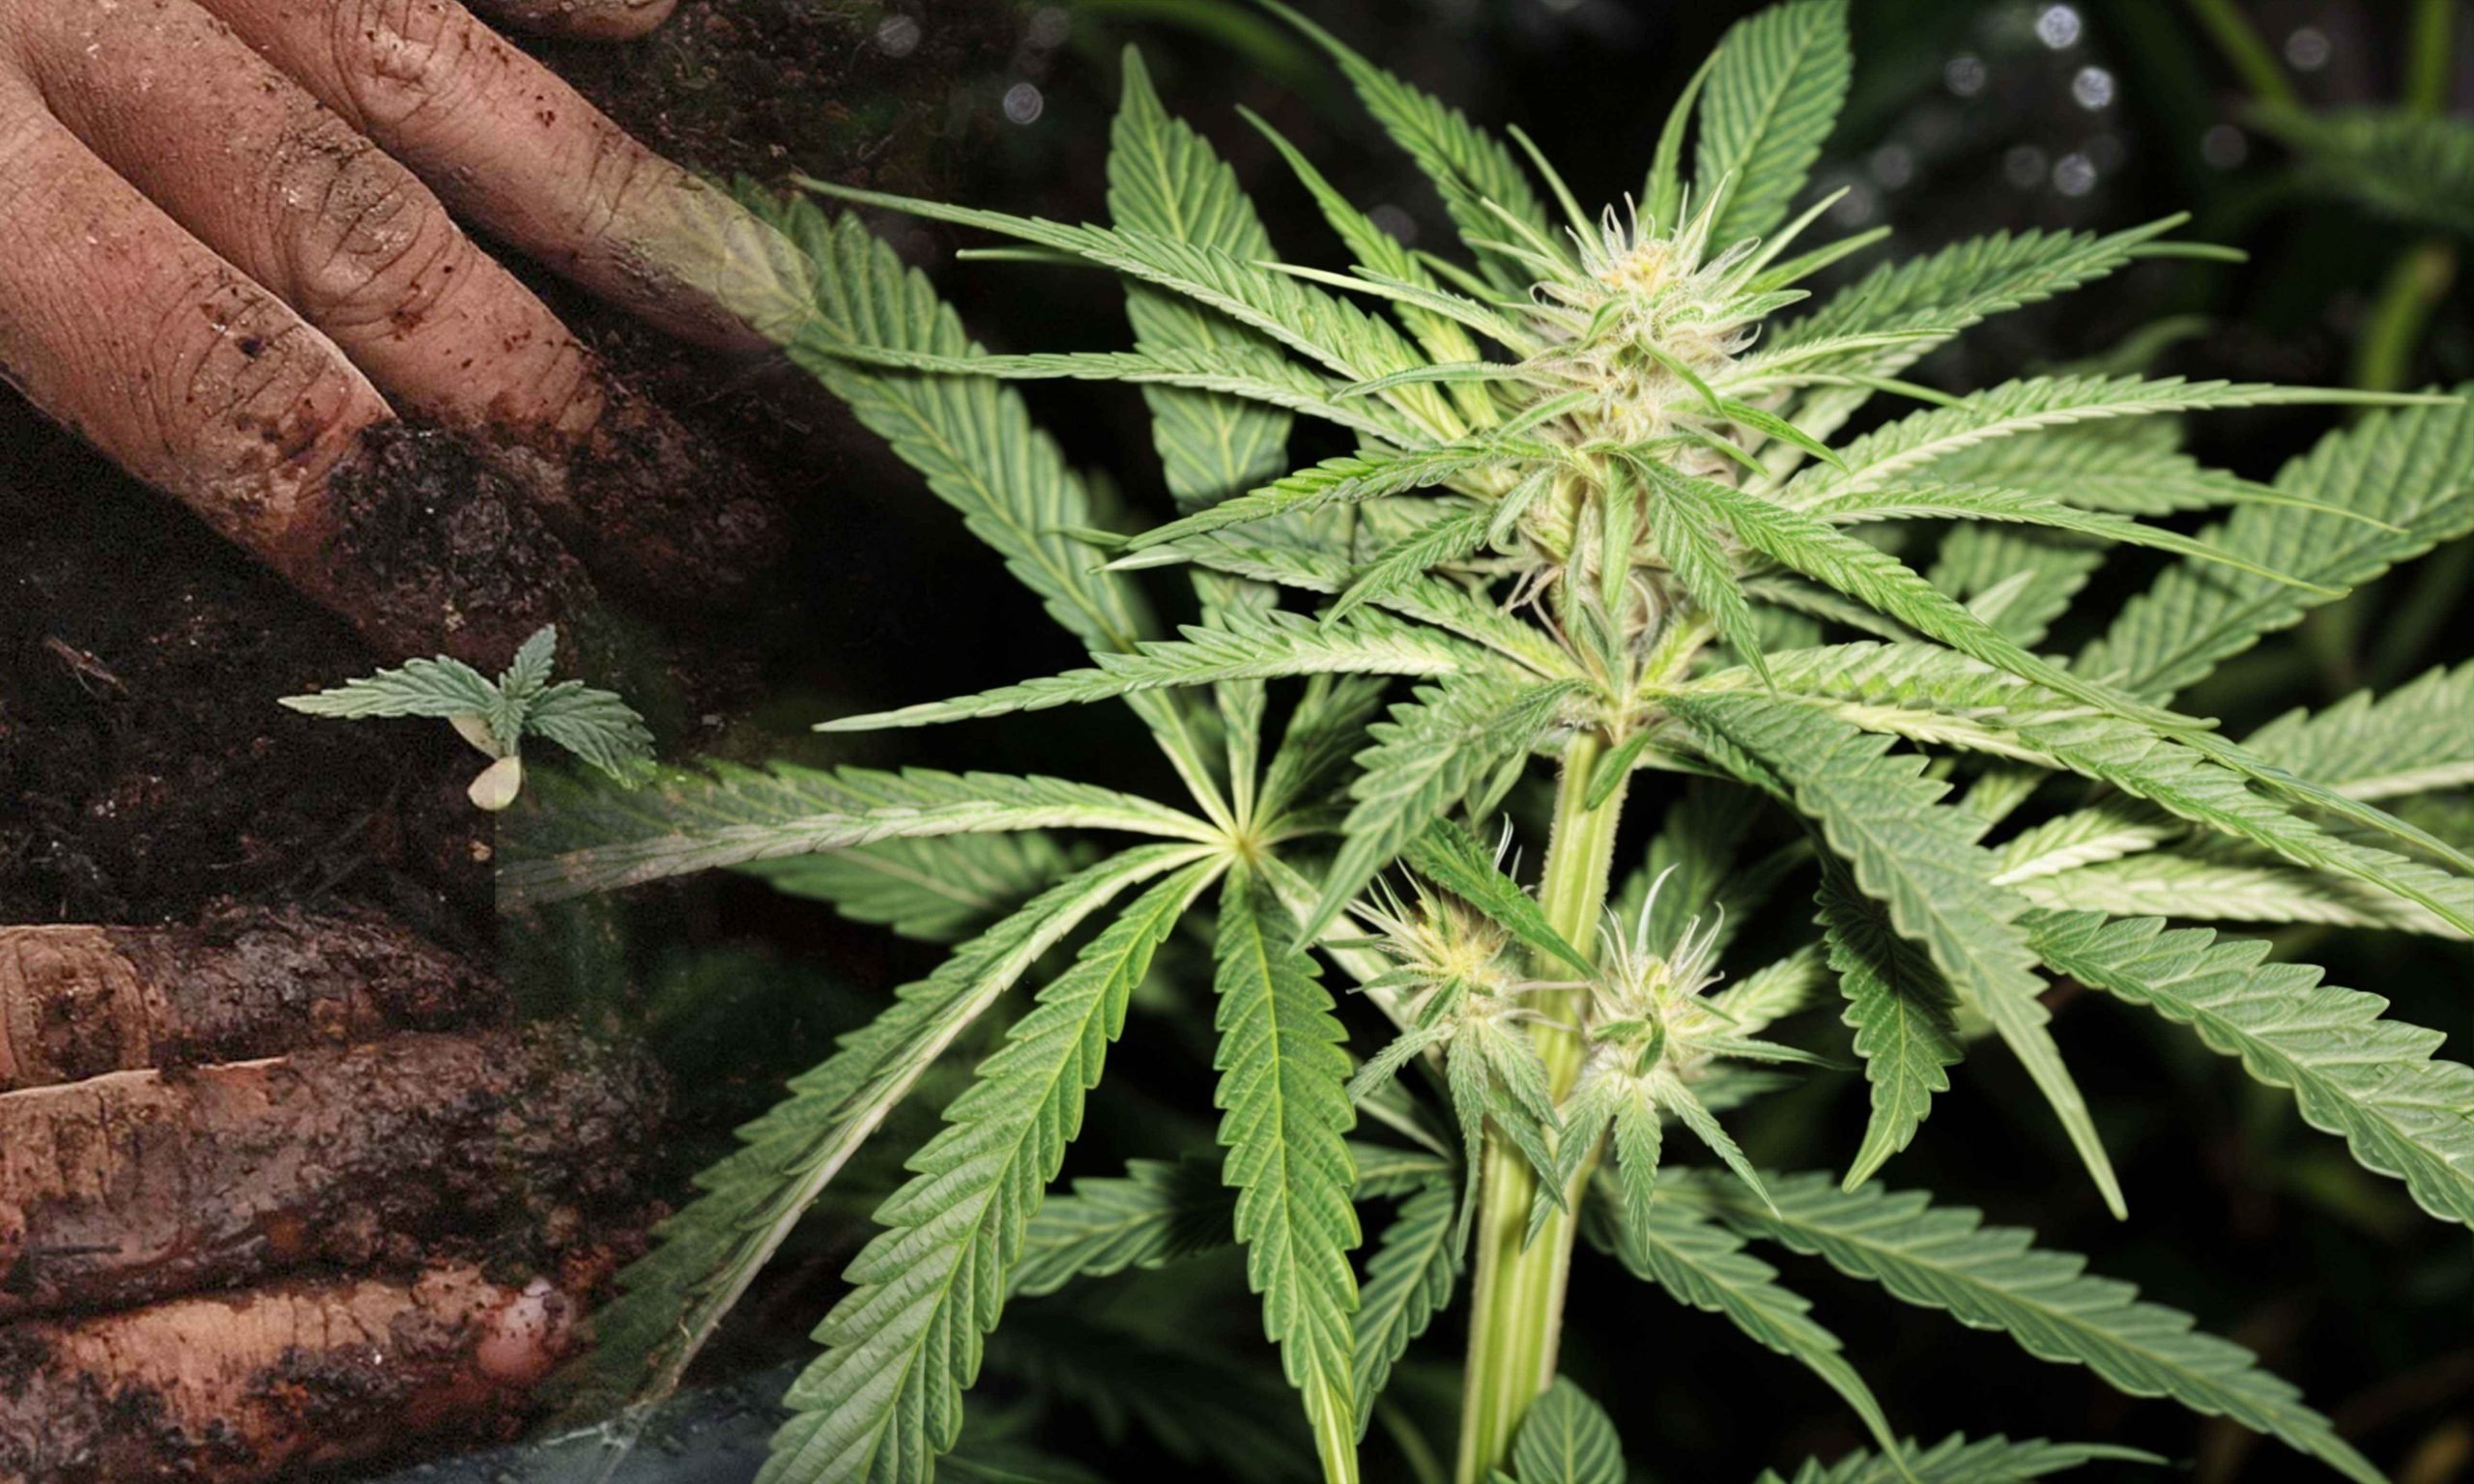
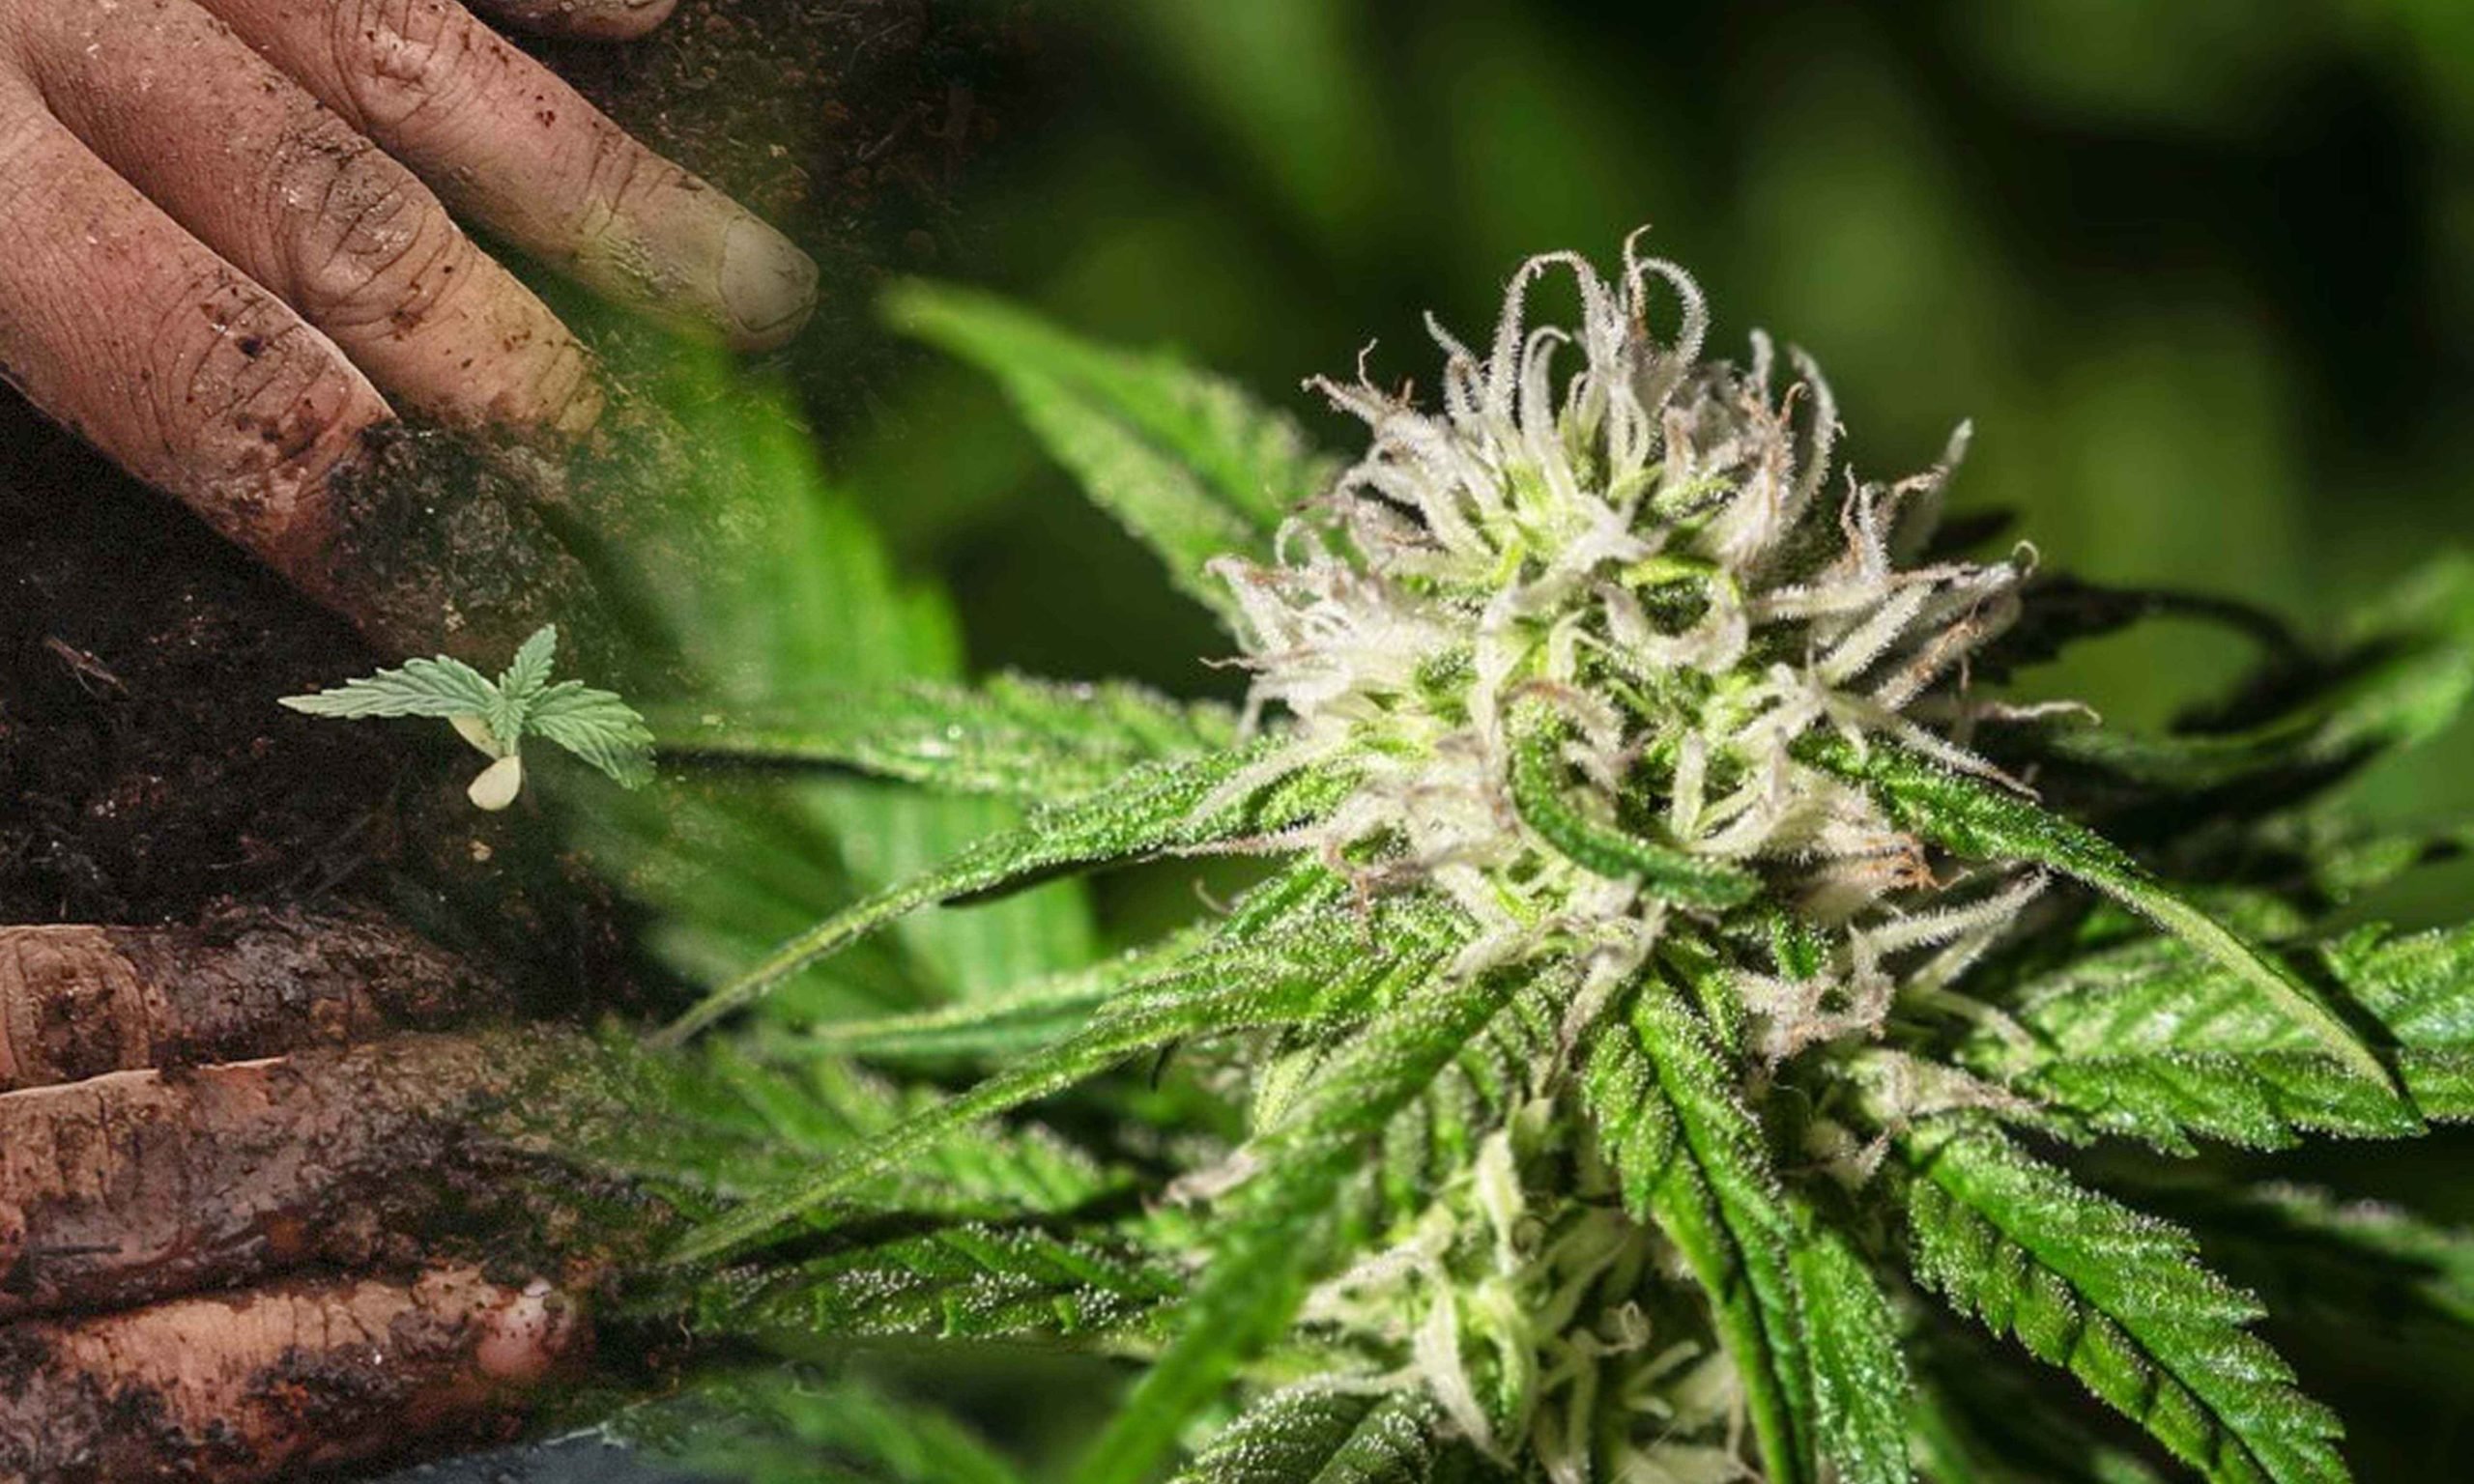
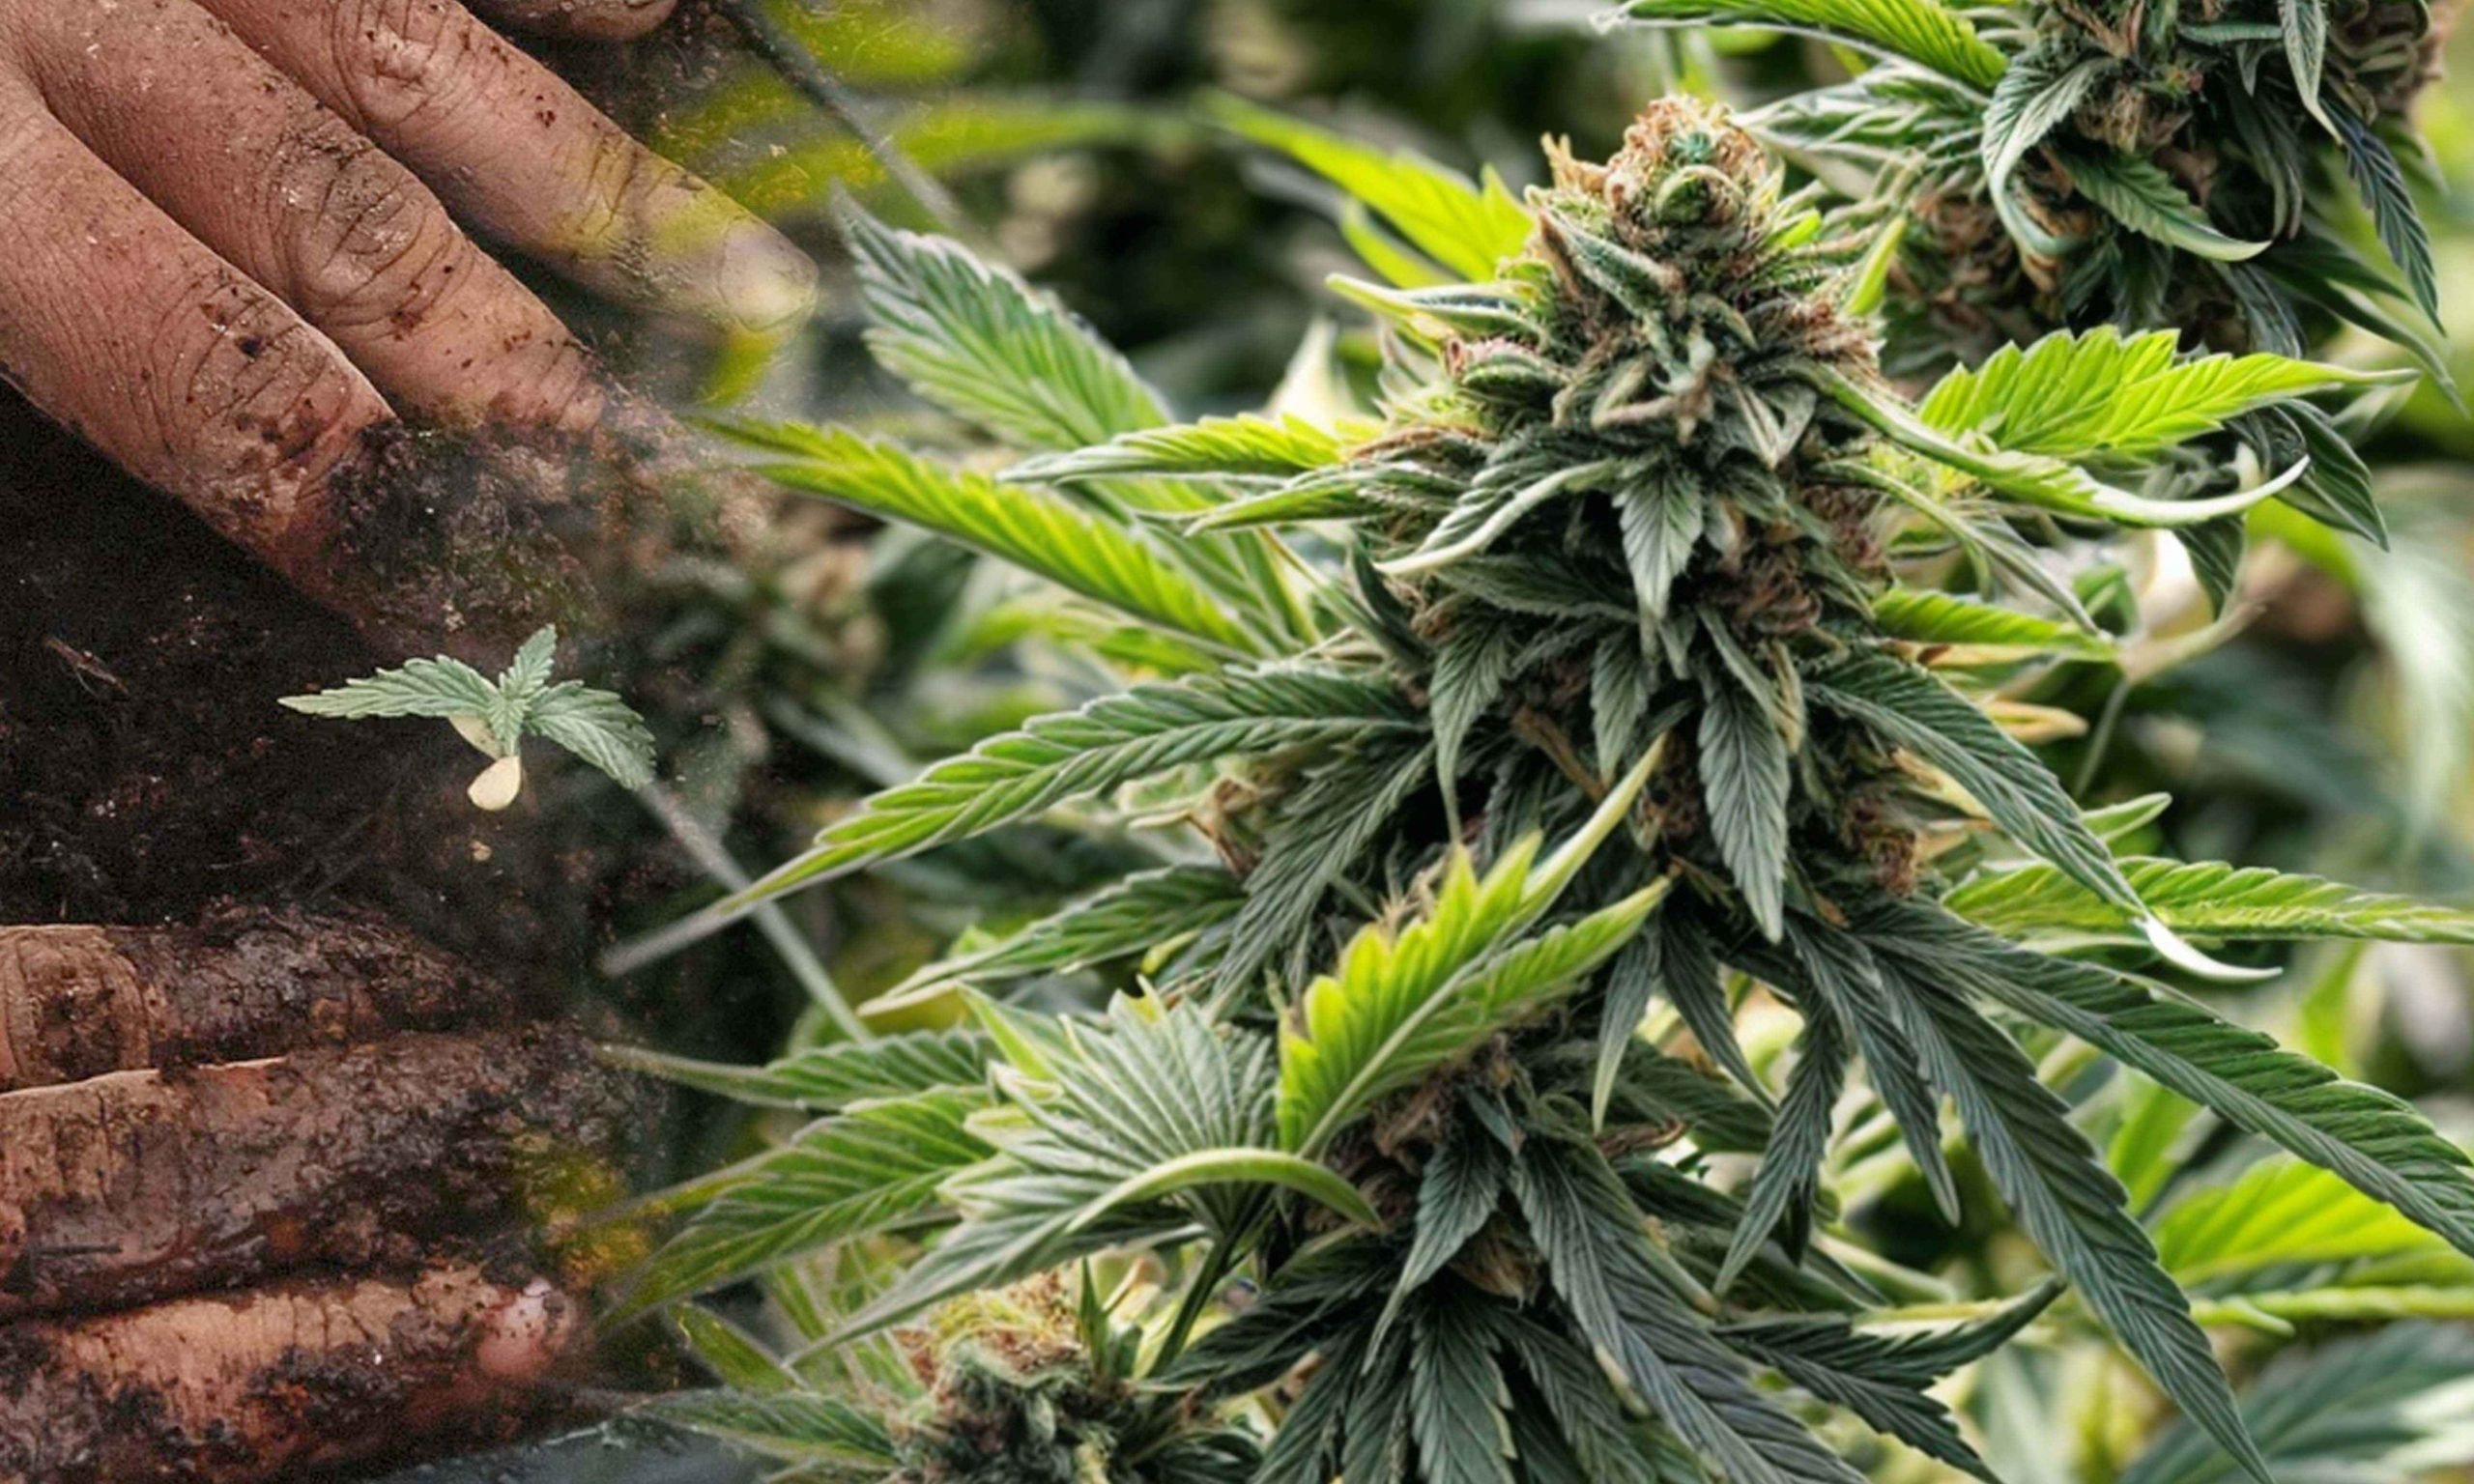
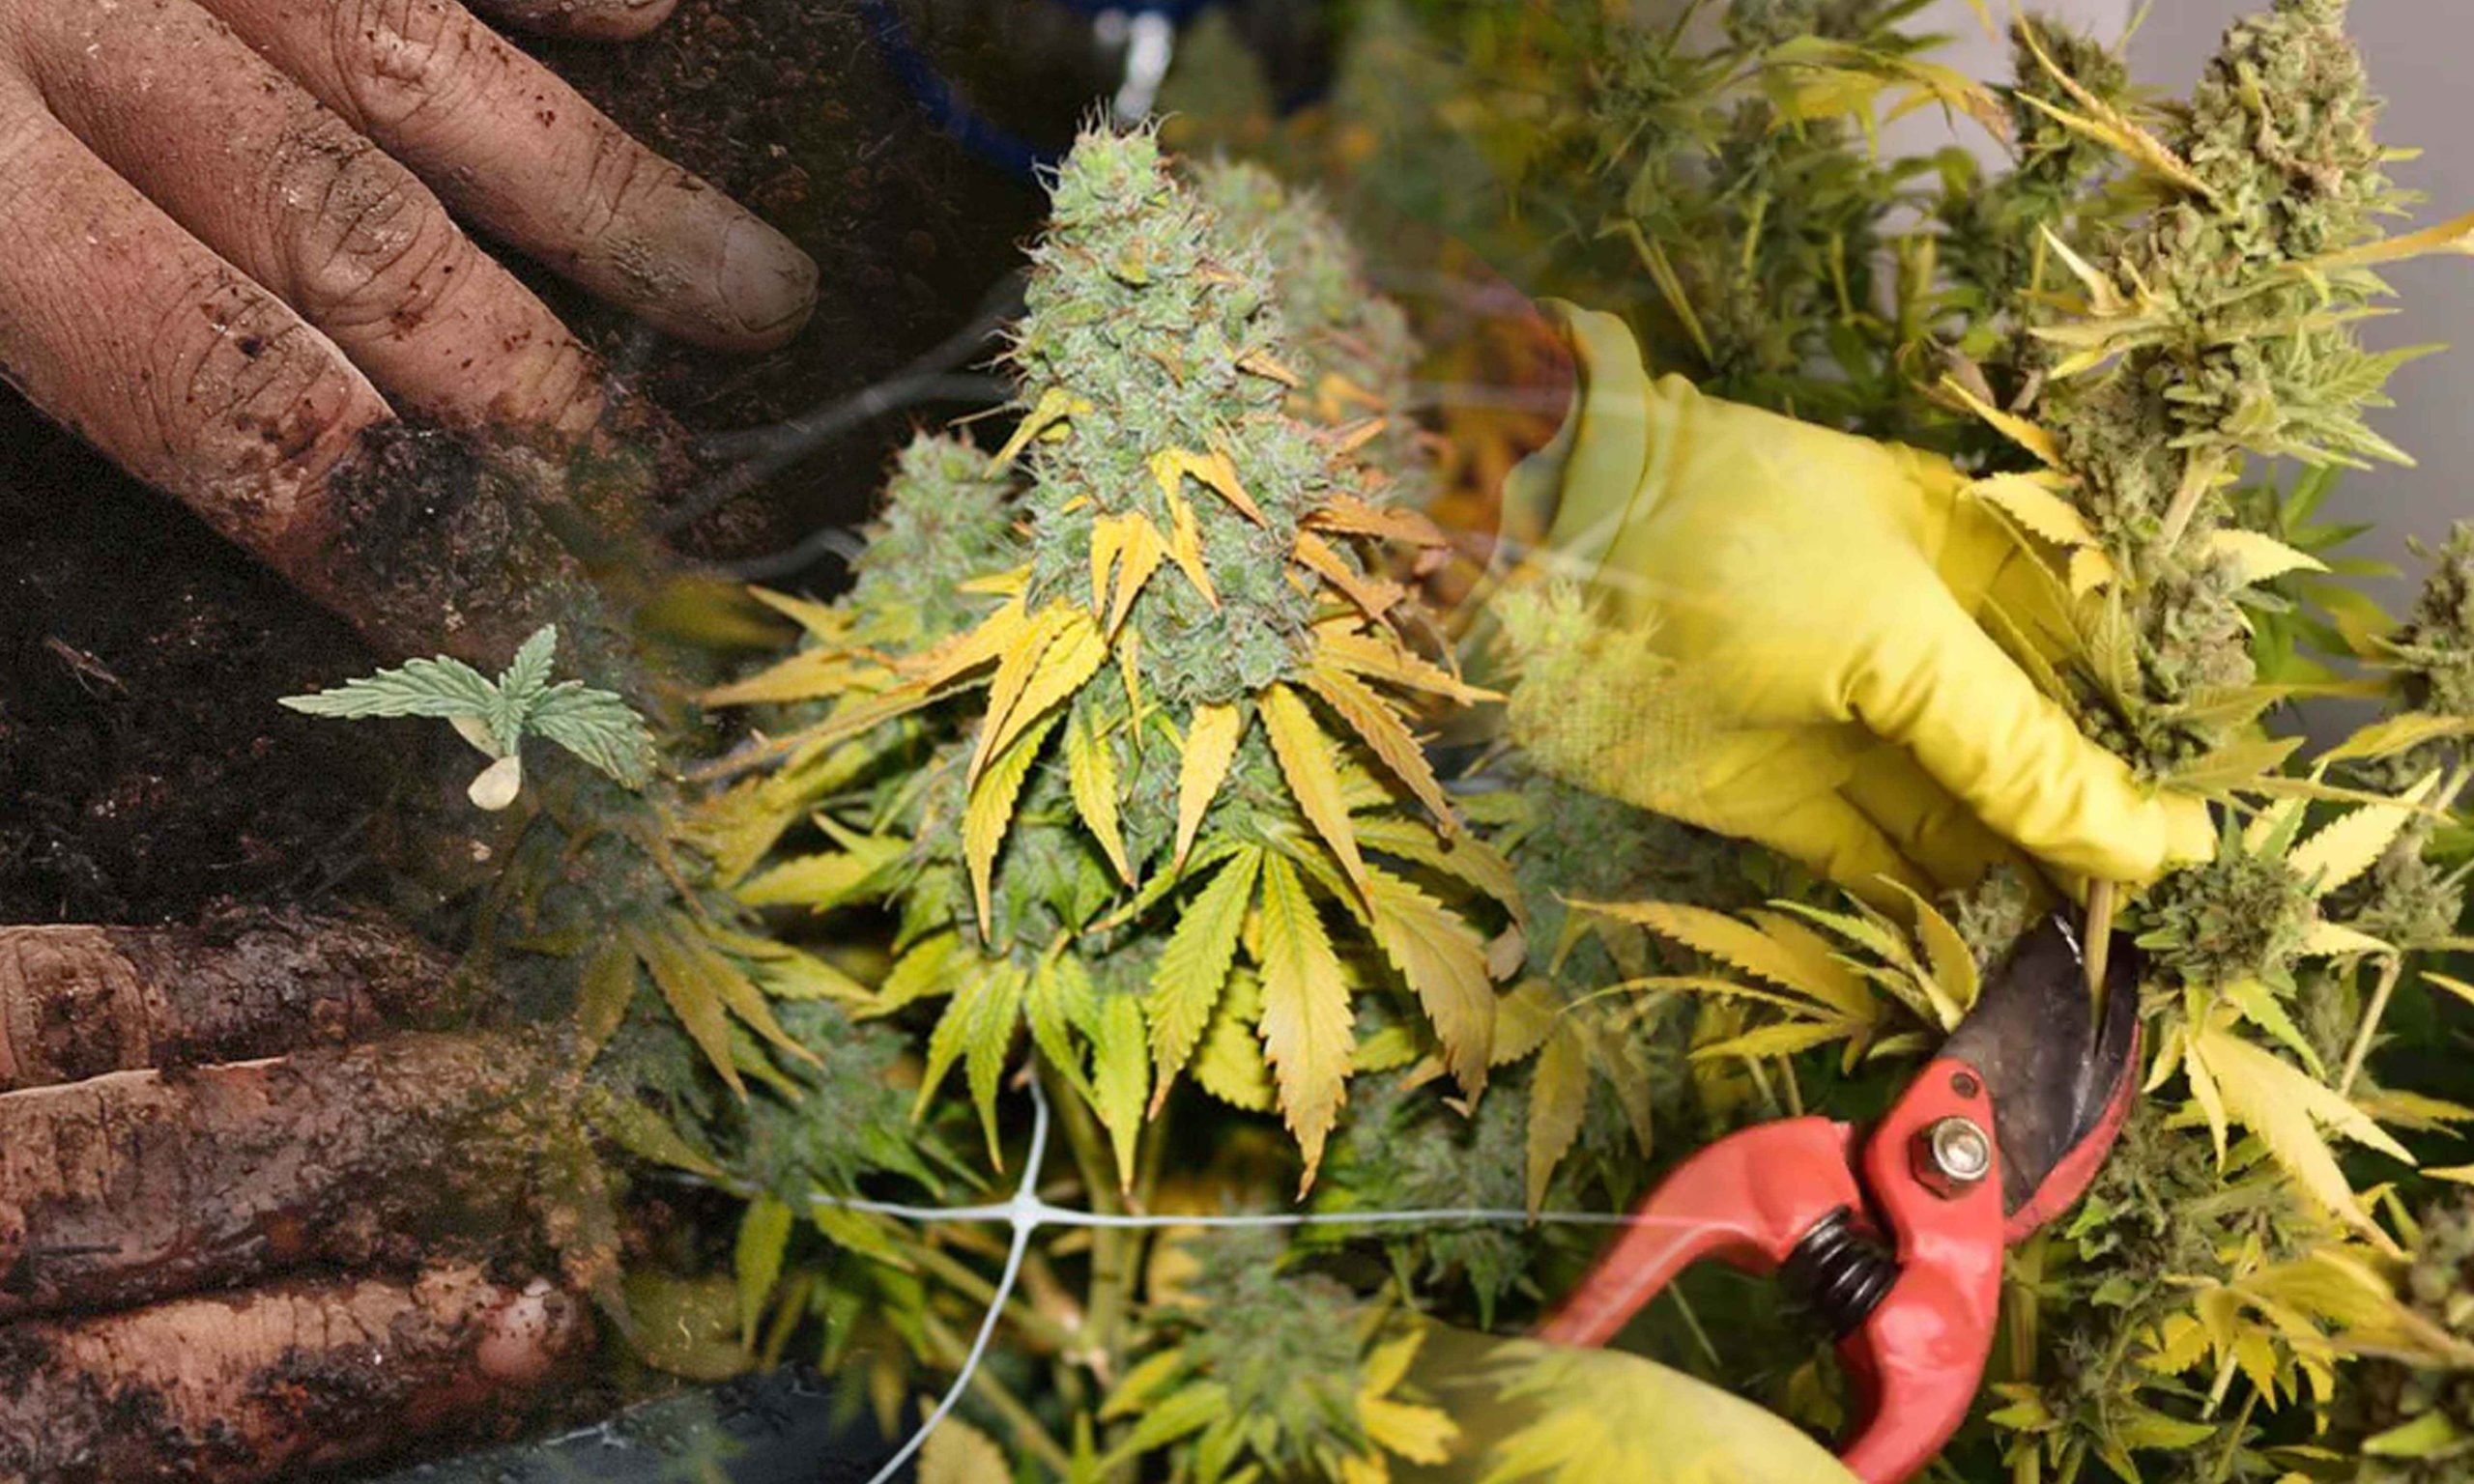
In our complete guide, we explore all the details of cannabis flowering, giving you weed plant pictures week by week of what to expect each week to get the most out of your harvest. Whether you’re an experienced grower or just starting, knowing the ins and outs of each stage is essential for getting the best results. Growing cannabis isn’t just about putting seeds in the ground and watering them; it’s a careful process that needs attention to detail and a good grasp of how the plant grows. When you understand how cannabis flowers, you can make sure your plants reach their full potential, giving you plenty of top-quality buds to enjoy.
Week 1: Transitioning into Flowering
As your plants transition from the vegetative stage to flowering, it’s essential to provide the right conditions to support healthy growth. During this critical period, the plant undergoes significant hormonal changes, shifting its focus from vegetative growth to reproductive development. To initiate flowering, ensure your plants receive 12 hours of uninterrupted darkness daily. This photoperiod change signals to the plant that it’s time to start producing flowers. Additionally, maintaining a consistent temperature between 68-78°F and humidity levels around 40-50% creates an optimal environment for flower formation. Adequate airflow is also crucial to prevent issues such as mold and mildew, especially in indoor grow setups.
Week 2: Early Flowering Phase
The 2 weeks into flowering picture marks the beginning of bud development, a pivotal stage where careful attention to nutrient balance and environmental factors can significantly impact final yields. As the plant shifts its energy towards flower production, it requires higher levels of phosphorus and potassium. Consider incorporating a bloom-specific fertilizer with a balanced NPK ratio to meet these increased demands. Additionally, monitoring pH levels is crucial during this stage, as imbalances can hinder nutrient uptake and lead to deficiencies. Low-stress training techniques such as topping or LST (low-stress training) can help promote an even canopy and maximize light penetration to budding sites, ensuring uniform bud development and higher yields.
Week 3-4: Mid-Flowering Stage
In the 3 weeks into flowering pictures, your plants will continue to stretch and fill out their bud sites, signaling the peak of flower production. As the canopy thickens, it’s essential to maintain proper airflow and spacing between plants to prevent humidity buildup and potential issues like bud rot. This is also the time to fine-tune your nutrient regimen, adjusting levels based on your plants’ response and any signs of nutrient deficiencies. Consider supplementing with organic additives such as molasses or compost tea to boost microbial activity in the soil, enhancing nutrient uptake and overall plant health. Additionally, removing any large fan leaves that block light penetration to lower bud sites can improve airflow and promote bud development in these areas.
Week 5-6: Late Flowering Phase
As your plants enter the late flowering phase, they shift their focus from vegetative growth to ripening their buds, producing resin glands rich in cannabinoids and terpenes. During this critical period, maintaining environmental stability is paramount to prevent stress-induced issues that can compromise final quality and yield. Keep a close eye on temperature and humidity levels, aiming for a consistent range of 65-75°F and 40-50% humidity. In 6 weeks into flowering pictures of this stage, you may notice the formation of trichomes, tiny resin glands that contain the plant’s cannabinoids and terpenes. Monitoring trichome development using a magnifying lens can help determine the optimal time for harvest, as trichomes transition from clear to cloudy and eventually amber-colored.
Week 7-8: Ripening and Harvesting
As your plants near the end of their flowering cycle, it’s essential to prepare for harvest by flushing them with water to remove any remaining nutrients and salts from the soil. This process helps improve the final taste and aroma of your buds, resulting in a smoother smoking experience. As harvest approaches 8 weeks into flowering pictures, closely inspect your plants for signs of ripeness, including amber-colored trichomes and yellowing foliage. Use a sharp pair of pruning shears to carefully trim away large fan leaves and branches, leaving behind only the fully matured buds. Hang harvested buds in a cool, dark environment with good airflow to dry slowly and evenly. Once dried, store your buds in airtight containers in a cool, dark place to preserve their freshness and potency until consumption.
Conclusion
Mastering the art of stages of bud growth pictures requires patience, diligence, and a deep understanding of the plant’s lifecycle. By following our comprehensive week-by-week guide, you’ll be equipped with the knowledge and strategies needed to maximize your harvest’s yield, potency, and overall quality. Whether you’re a novice grower or a seasoned cultivator, optimizing each stage of the flowering process is key to achieving exceptional results. Remember to tailor your approach to the specific needs of your plants and environment, and don’t hesitate to experiment with different techniques to find what works best for you. Happy growing!
FAQs
1. How do I prevent pests and diseases during the flowering stage?
To prevent pests and diseases during the flowering stage, maintain a clean and sanitized grow environment, regularly inspect plants for signs of infestation, and implement integrated pest management strategies. Additionally, avoid overwatering and ensure proper airflow to discourage fungal growth.
2. Can I use organic nutrients during the flowering stage?
Yes, organic nutrients can be beneficial during the flowering stage as they provide a slow-release source of essential elements, promoting healthy growth and enhancing flavor profiles. Look for organic fertilizers rich in phosphorus and potassium to support robust flower development.
3. How do I determine when to harvest my cannabis plants?
Harvest timing is crucial for maximizing potency and flavor. Monitor trichome coloration using a magnifying lens or microscope, aiming for milky-white trichomes with a hint of amber. This indicates peak cannabinoid levels and optimal harvest readiness.
4. Is supplemental lighting necessary during the flowering stage?
Supplemental lighting can be beneficial during the flowering stage, especially for indoor growers or those in regions with limited sunlight. LED or HPS grow lights can help increase bud density and resin production, leading to higher potency and quality.
5. What is the best way to store harvested cannabis buds?
To preserve the potency and freshness of harvested buds, store them in airtight containers in a cool, dark, and dry place. Use glass jars or vacuum-sealed bags to minimize exposure to air and moisture, ensuring long-term shelf life and optimal flavor retention.


