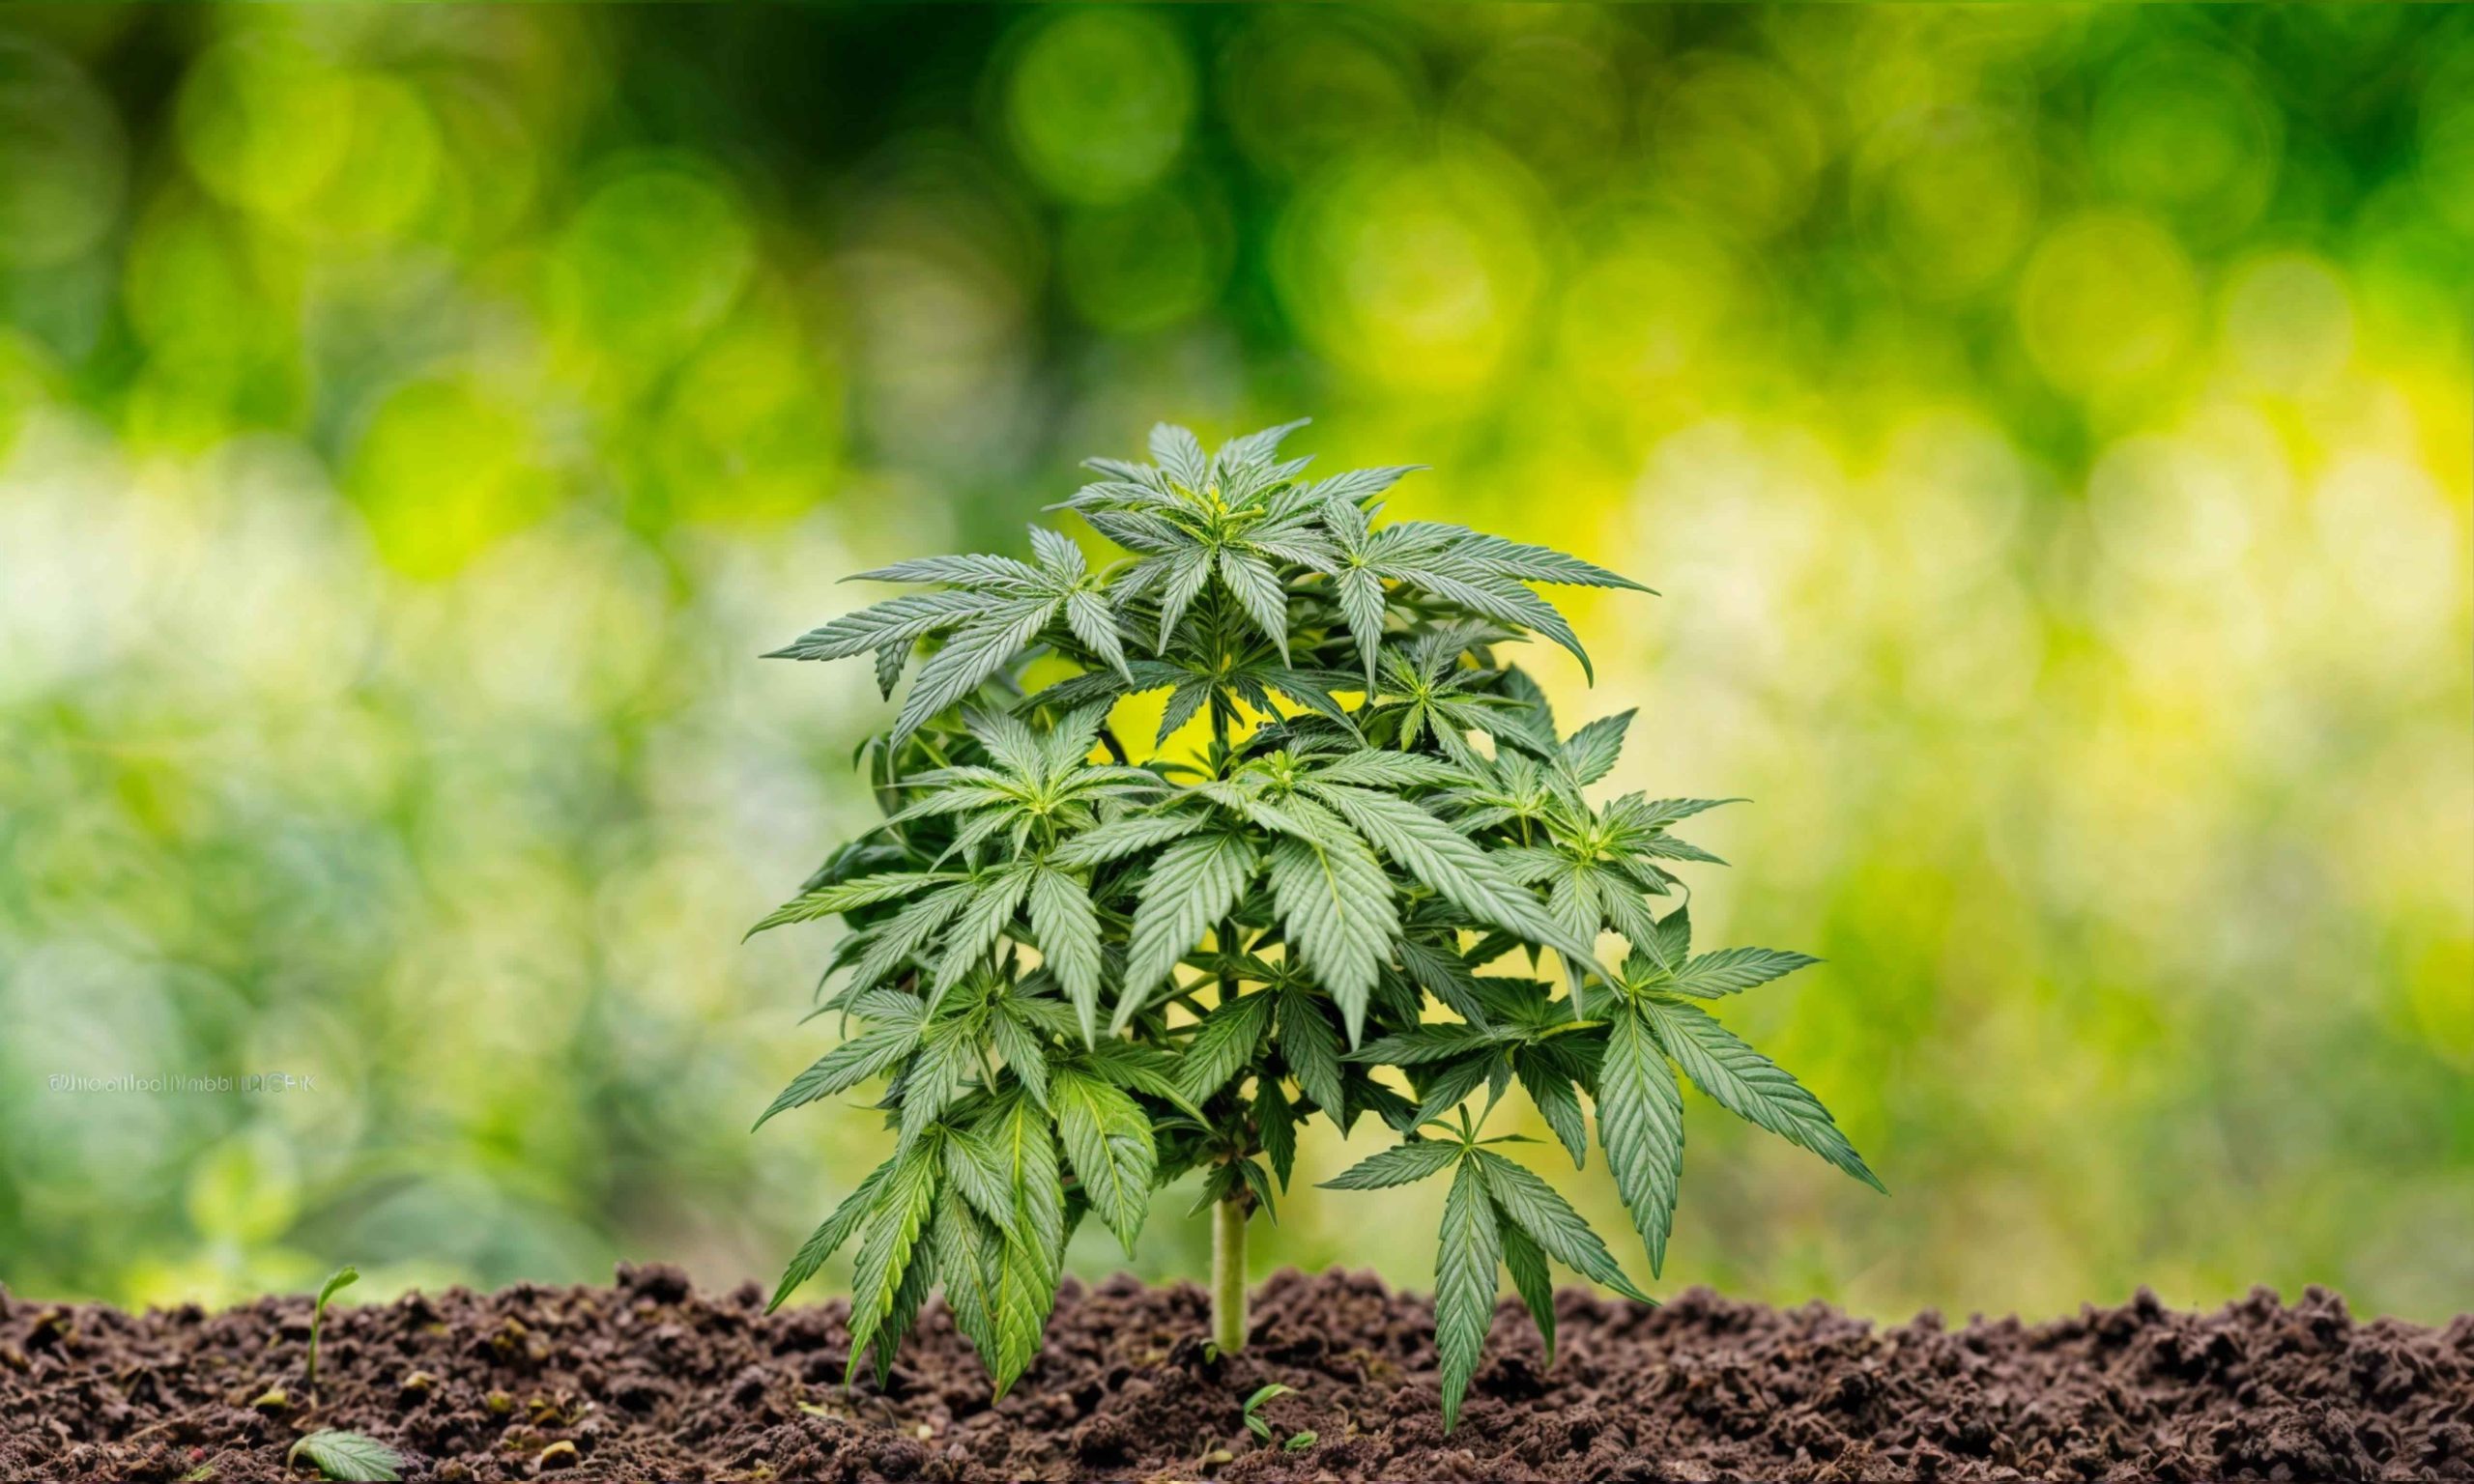
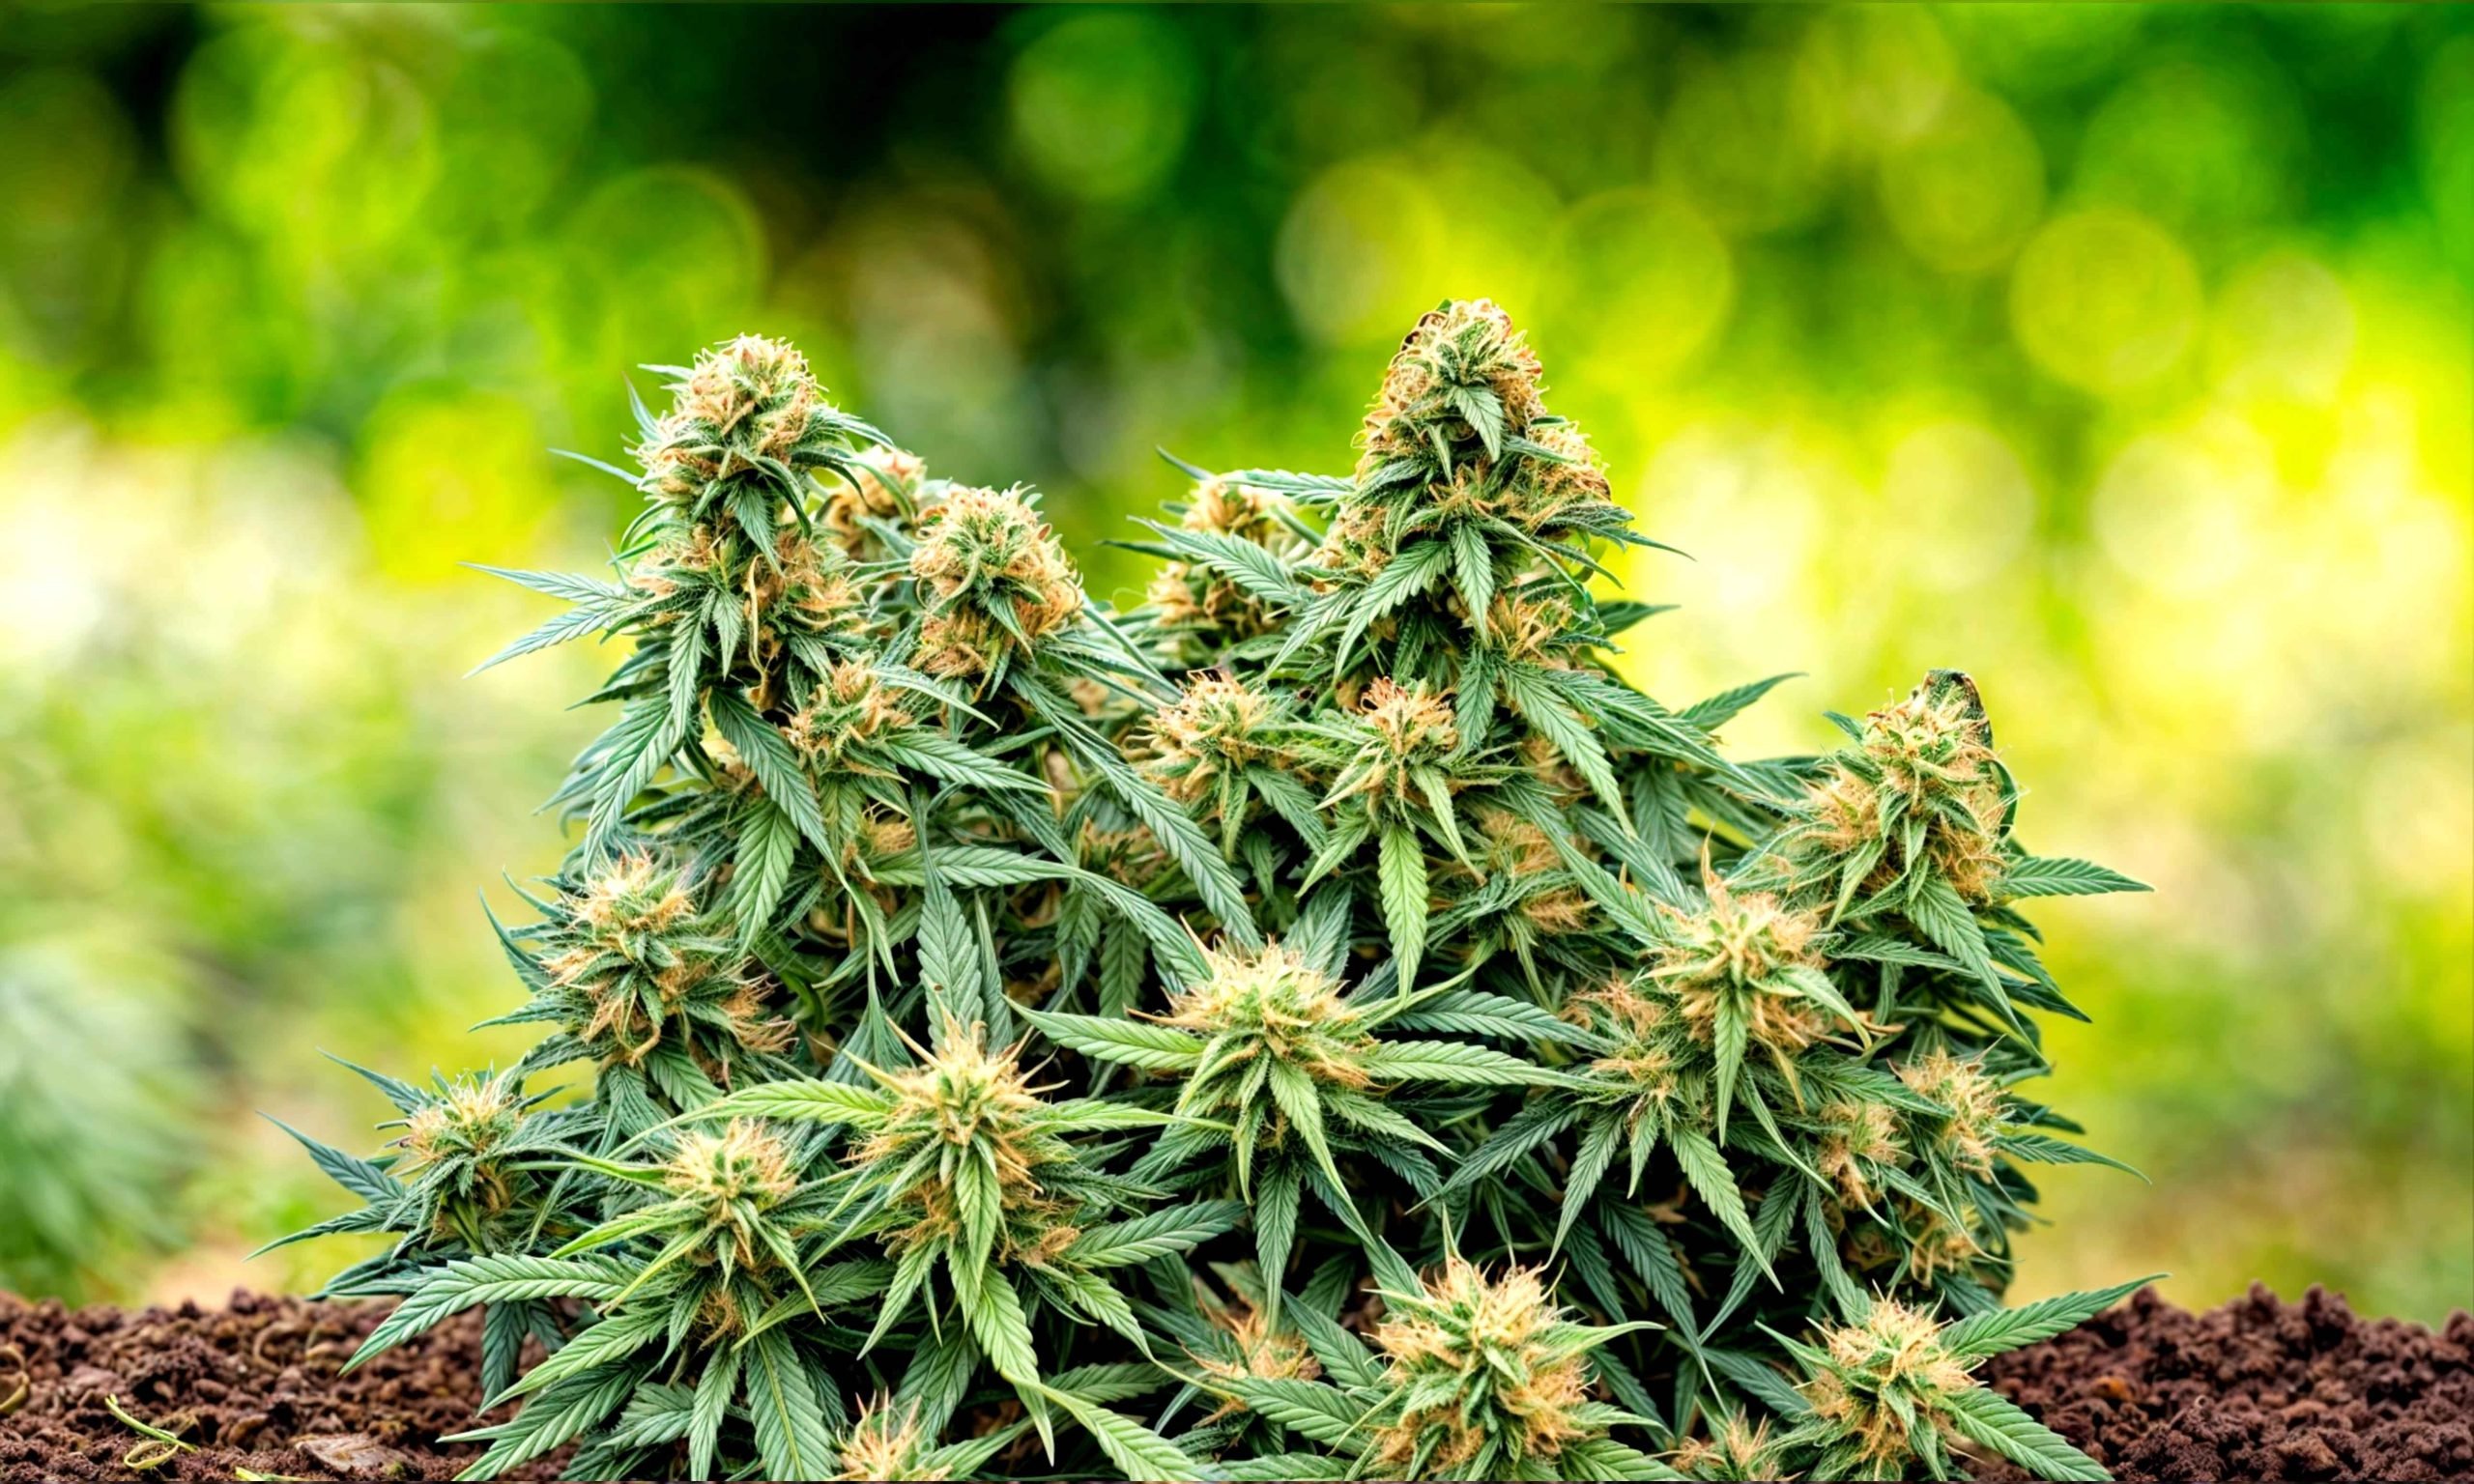
Autoflowering cannabis plants are unique in their ability to transition from the vegetative stage to the flowering stage based on age rather than light cycles. This makes them suitable for growers with limited space or those looking for a more straightforward cultivation process. Throughout this guide, we will cover autoflower week-by-week pictures of the growth cycle, including germination, vegetative growth, flowering, and harvesting, providing valuable tips and techniques for optimal results.
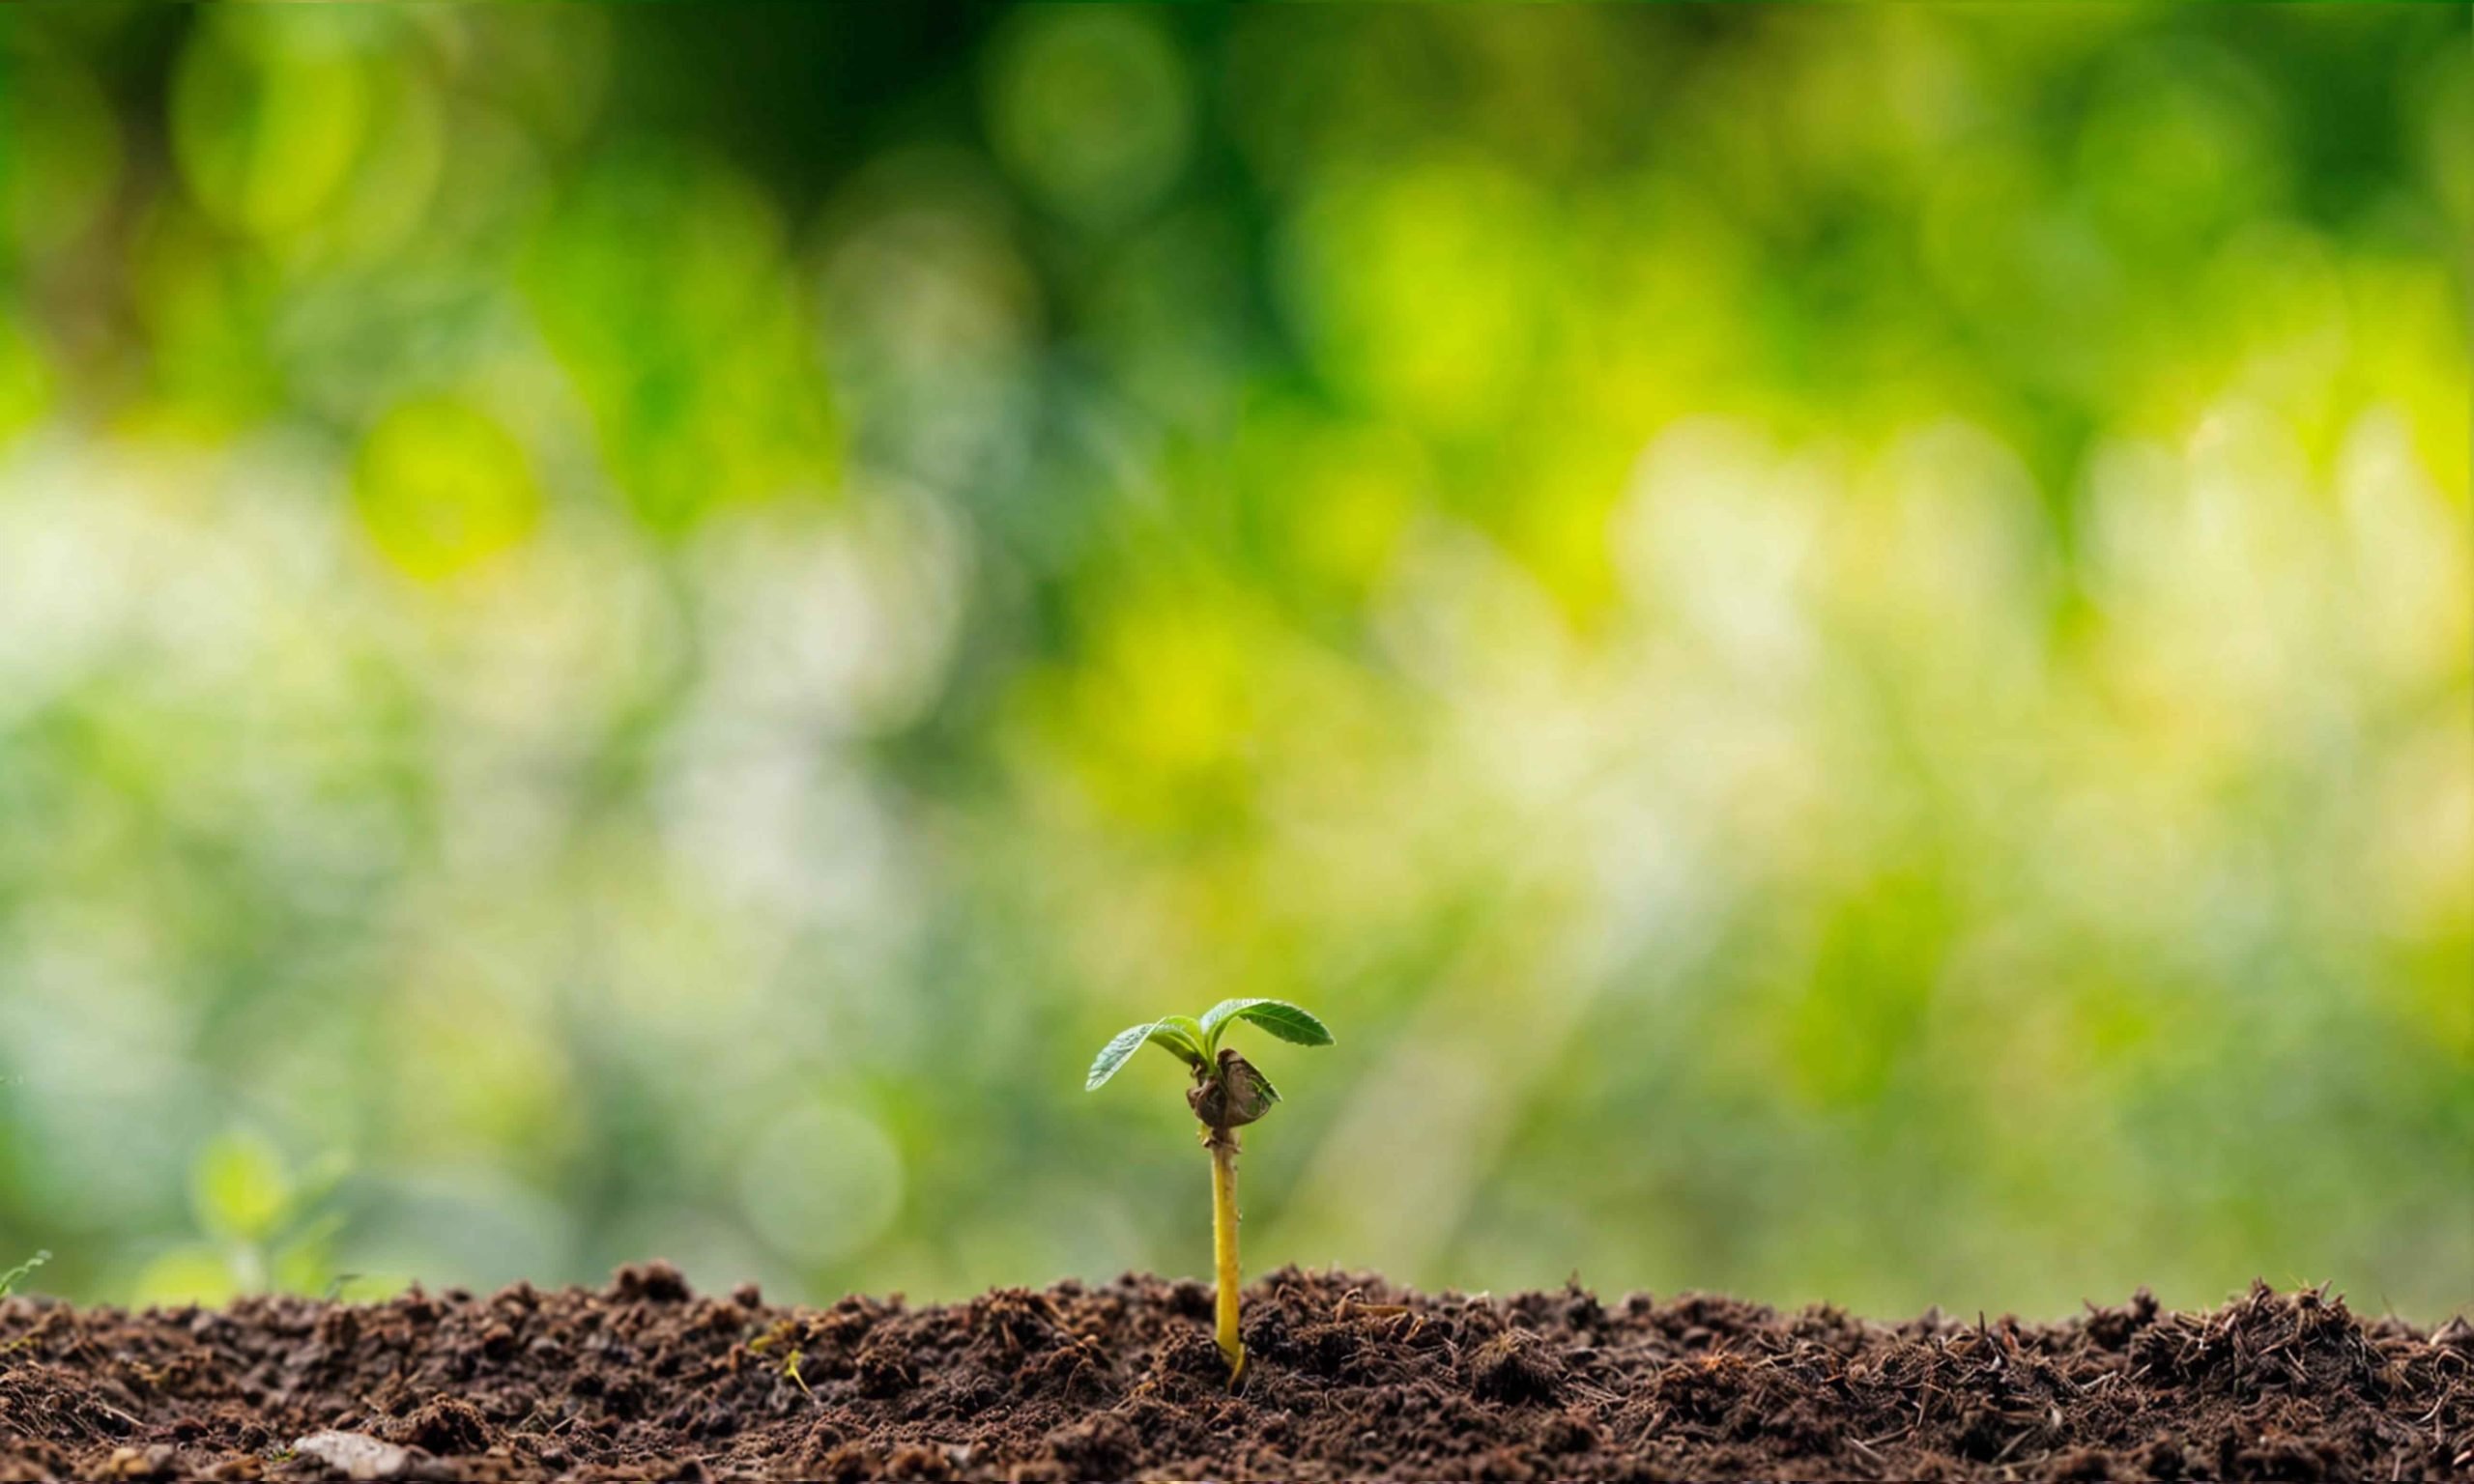
Week 1: Germination and Seedling Stage
During the first week of the autoflowering cannabis growth journey, the germination and seedling stage sets the foundation for healthy plant development. To ensure successful germination, it’s crucial to select high-quality seeds from reputable sources. Start by soaking the seeds in water for 12-24 hours to kickstart the germination process.
Once the seeds have sprouted, transfer them to a germination medium such as peat pellets or rockwool cubes. Maintain a warm and humid environment with temperatures around 70-85°F (21-29°C) and humidity levels of 70-80%. This optimal environment encourages rapid root growth and minimizes the risk of damping off disease.
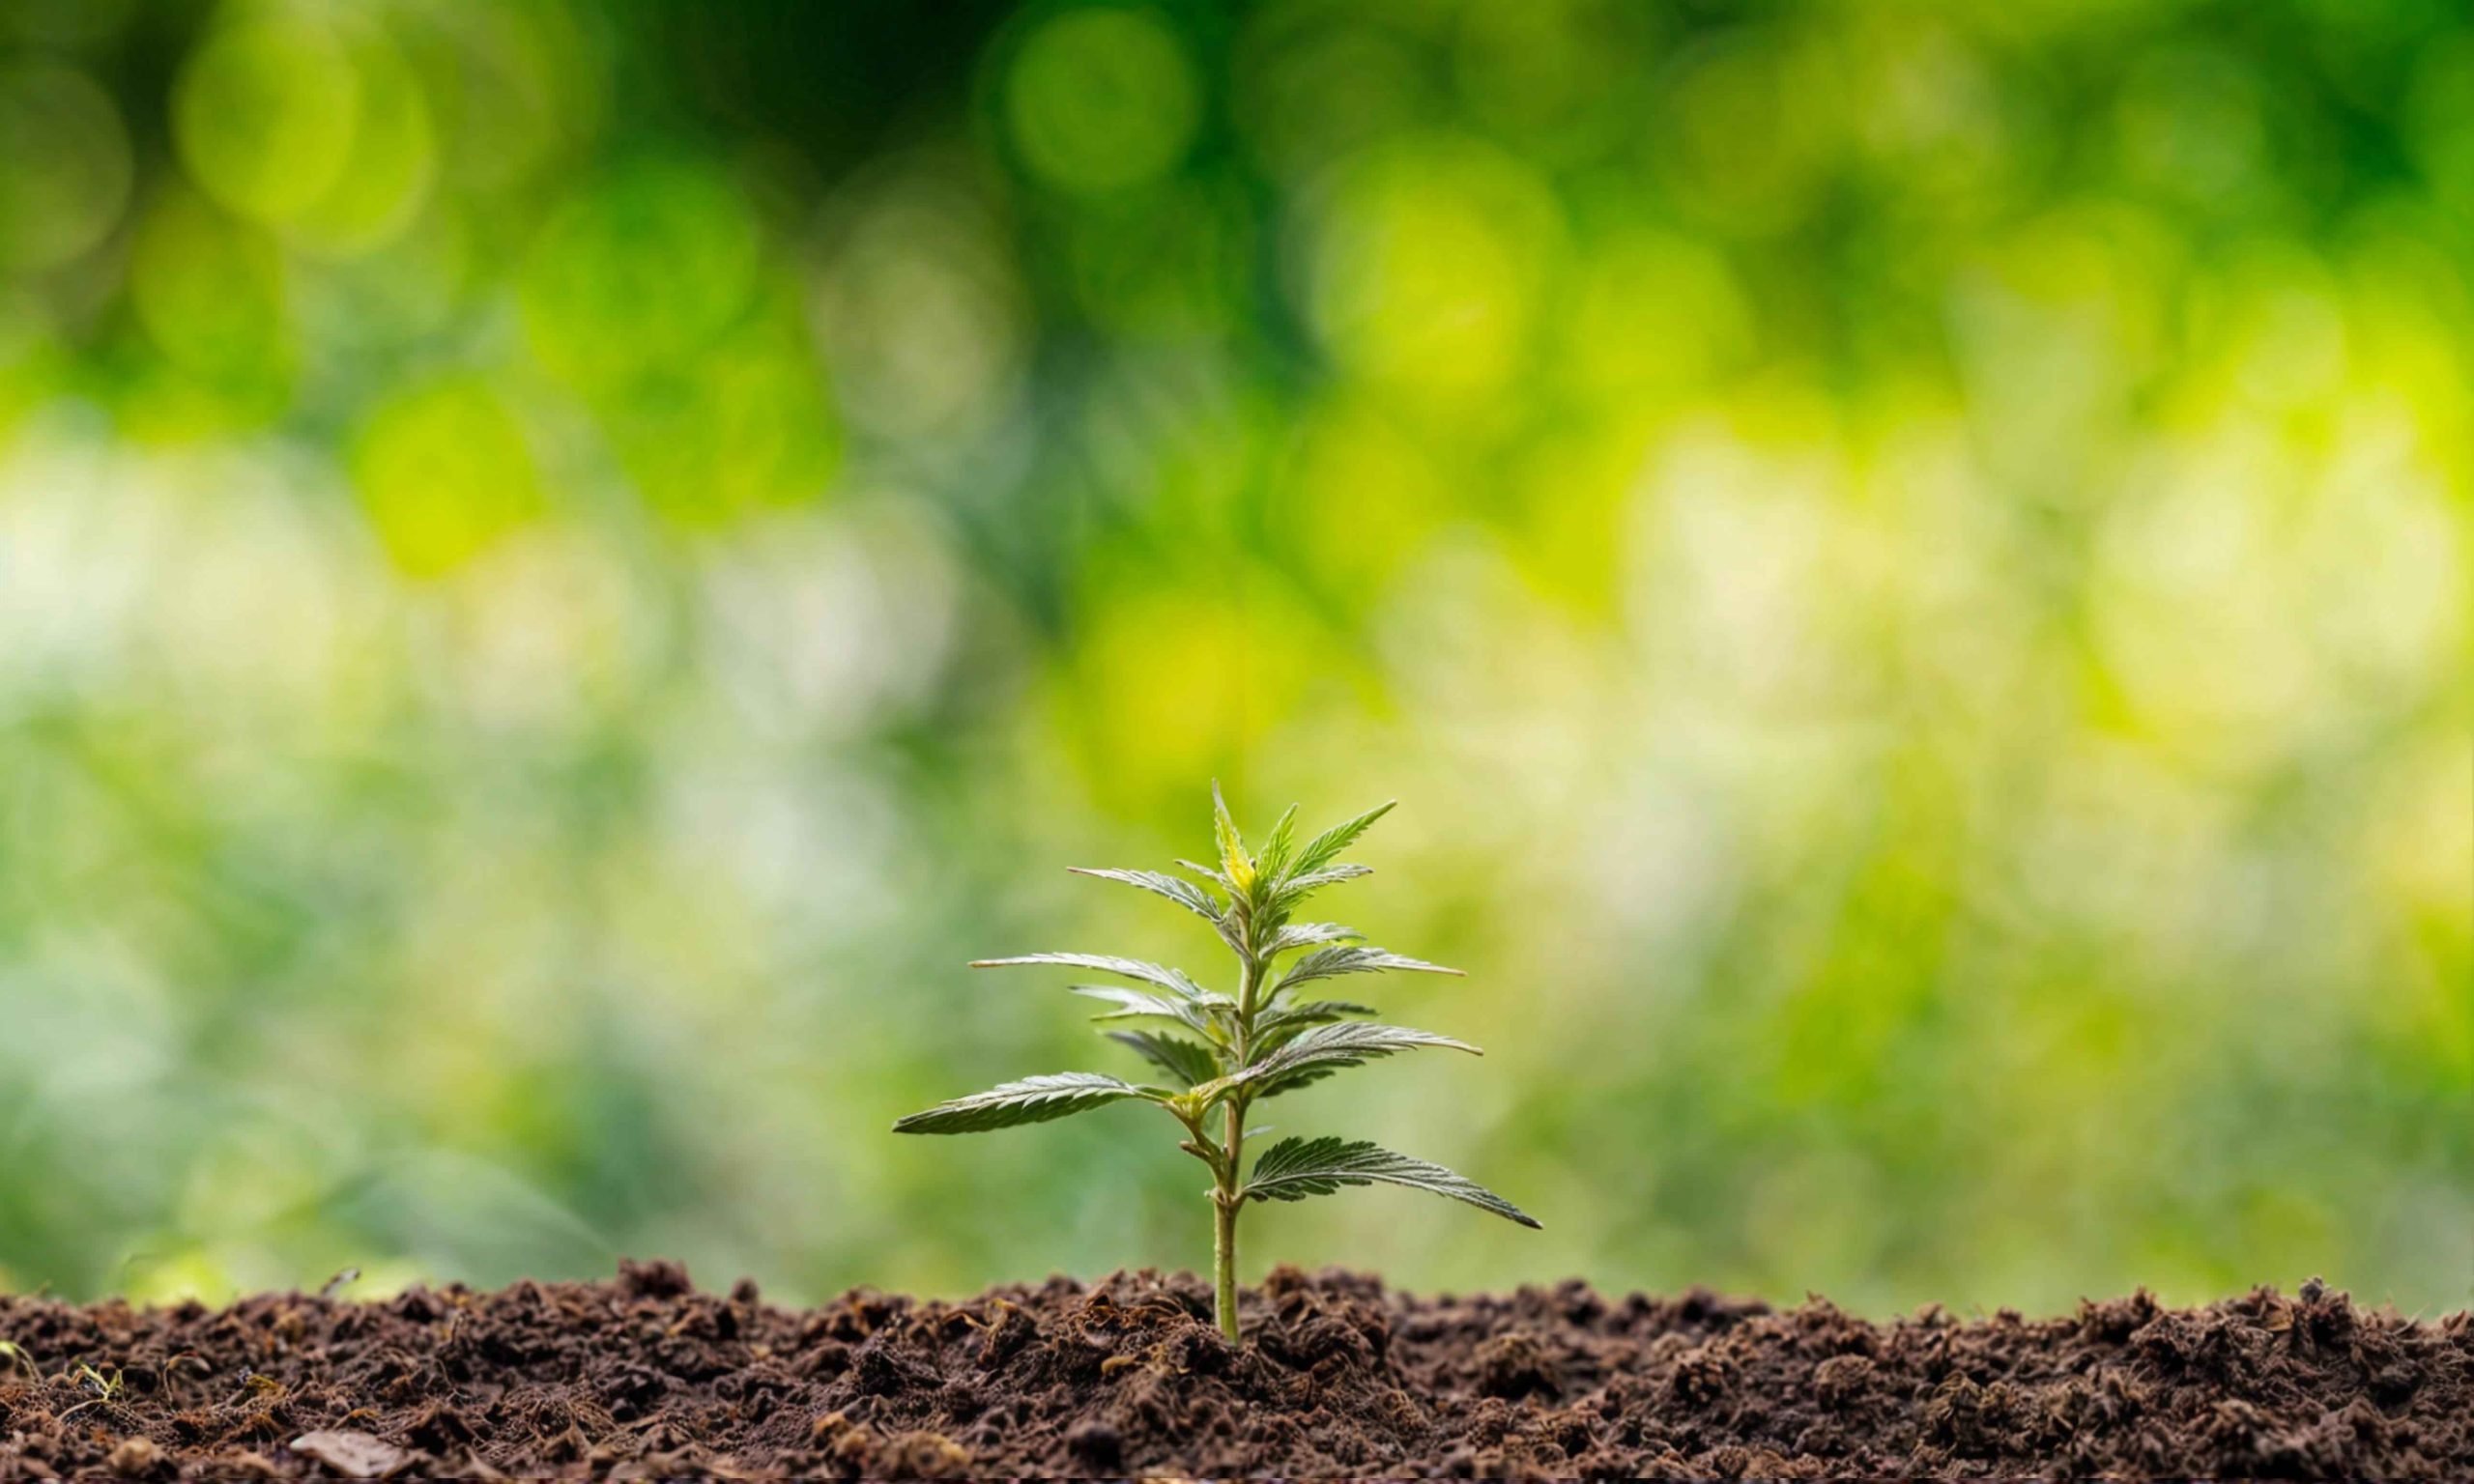
Week 2-3: Early Vegetative Growth
As your autoflowering cannabis plants enter the early vegetative growth stage, they will begin to establish their root systems and develop their first sets of true leaves. During this phase, focus on providing the right balance of nutrients to support healthy growth. Use a complete fertilizer with balanced N-P-K (nitrogen, phosphorus, potassium) ratios and micronutrients.
In 3-week-old autoflower, optimal light conditions are crucial for robust vegetative growth. If growing indoors, consider using full-spectrum LED grow lights that mimic natural sunlight. Maintain a light cycle of 18-24 hours of light per day to promote vigorous vegetative stage week-by-week pictures. Regularly monitor soil moisture levels and adjust the watering frequency as needed to prevent overwatering or underwatering.
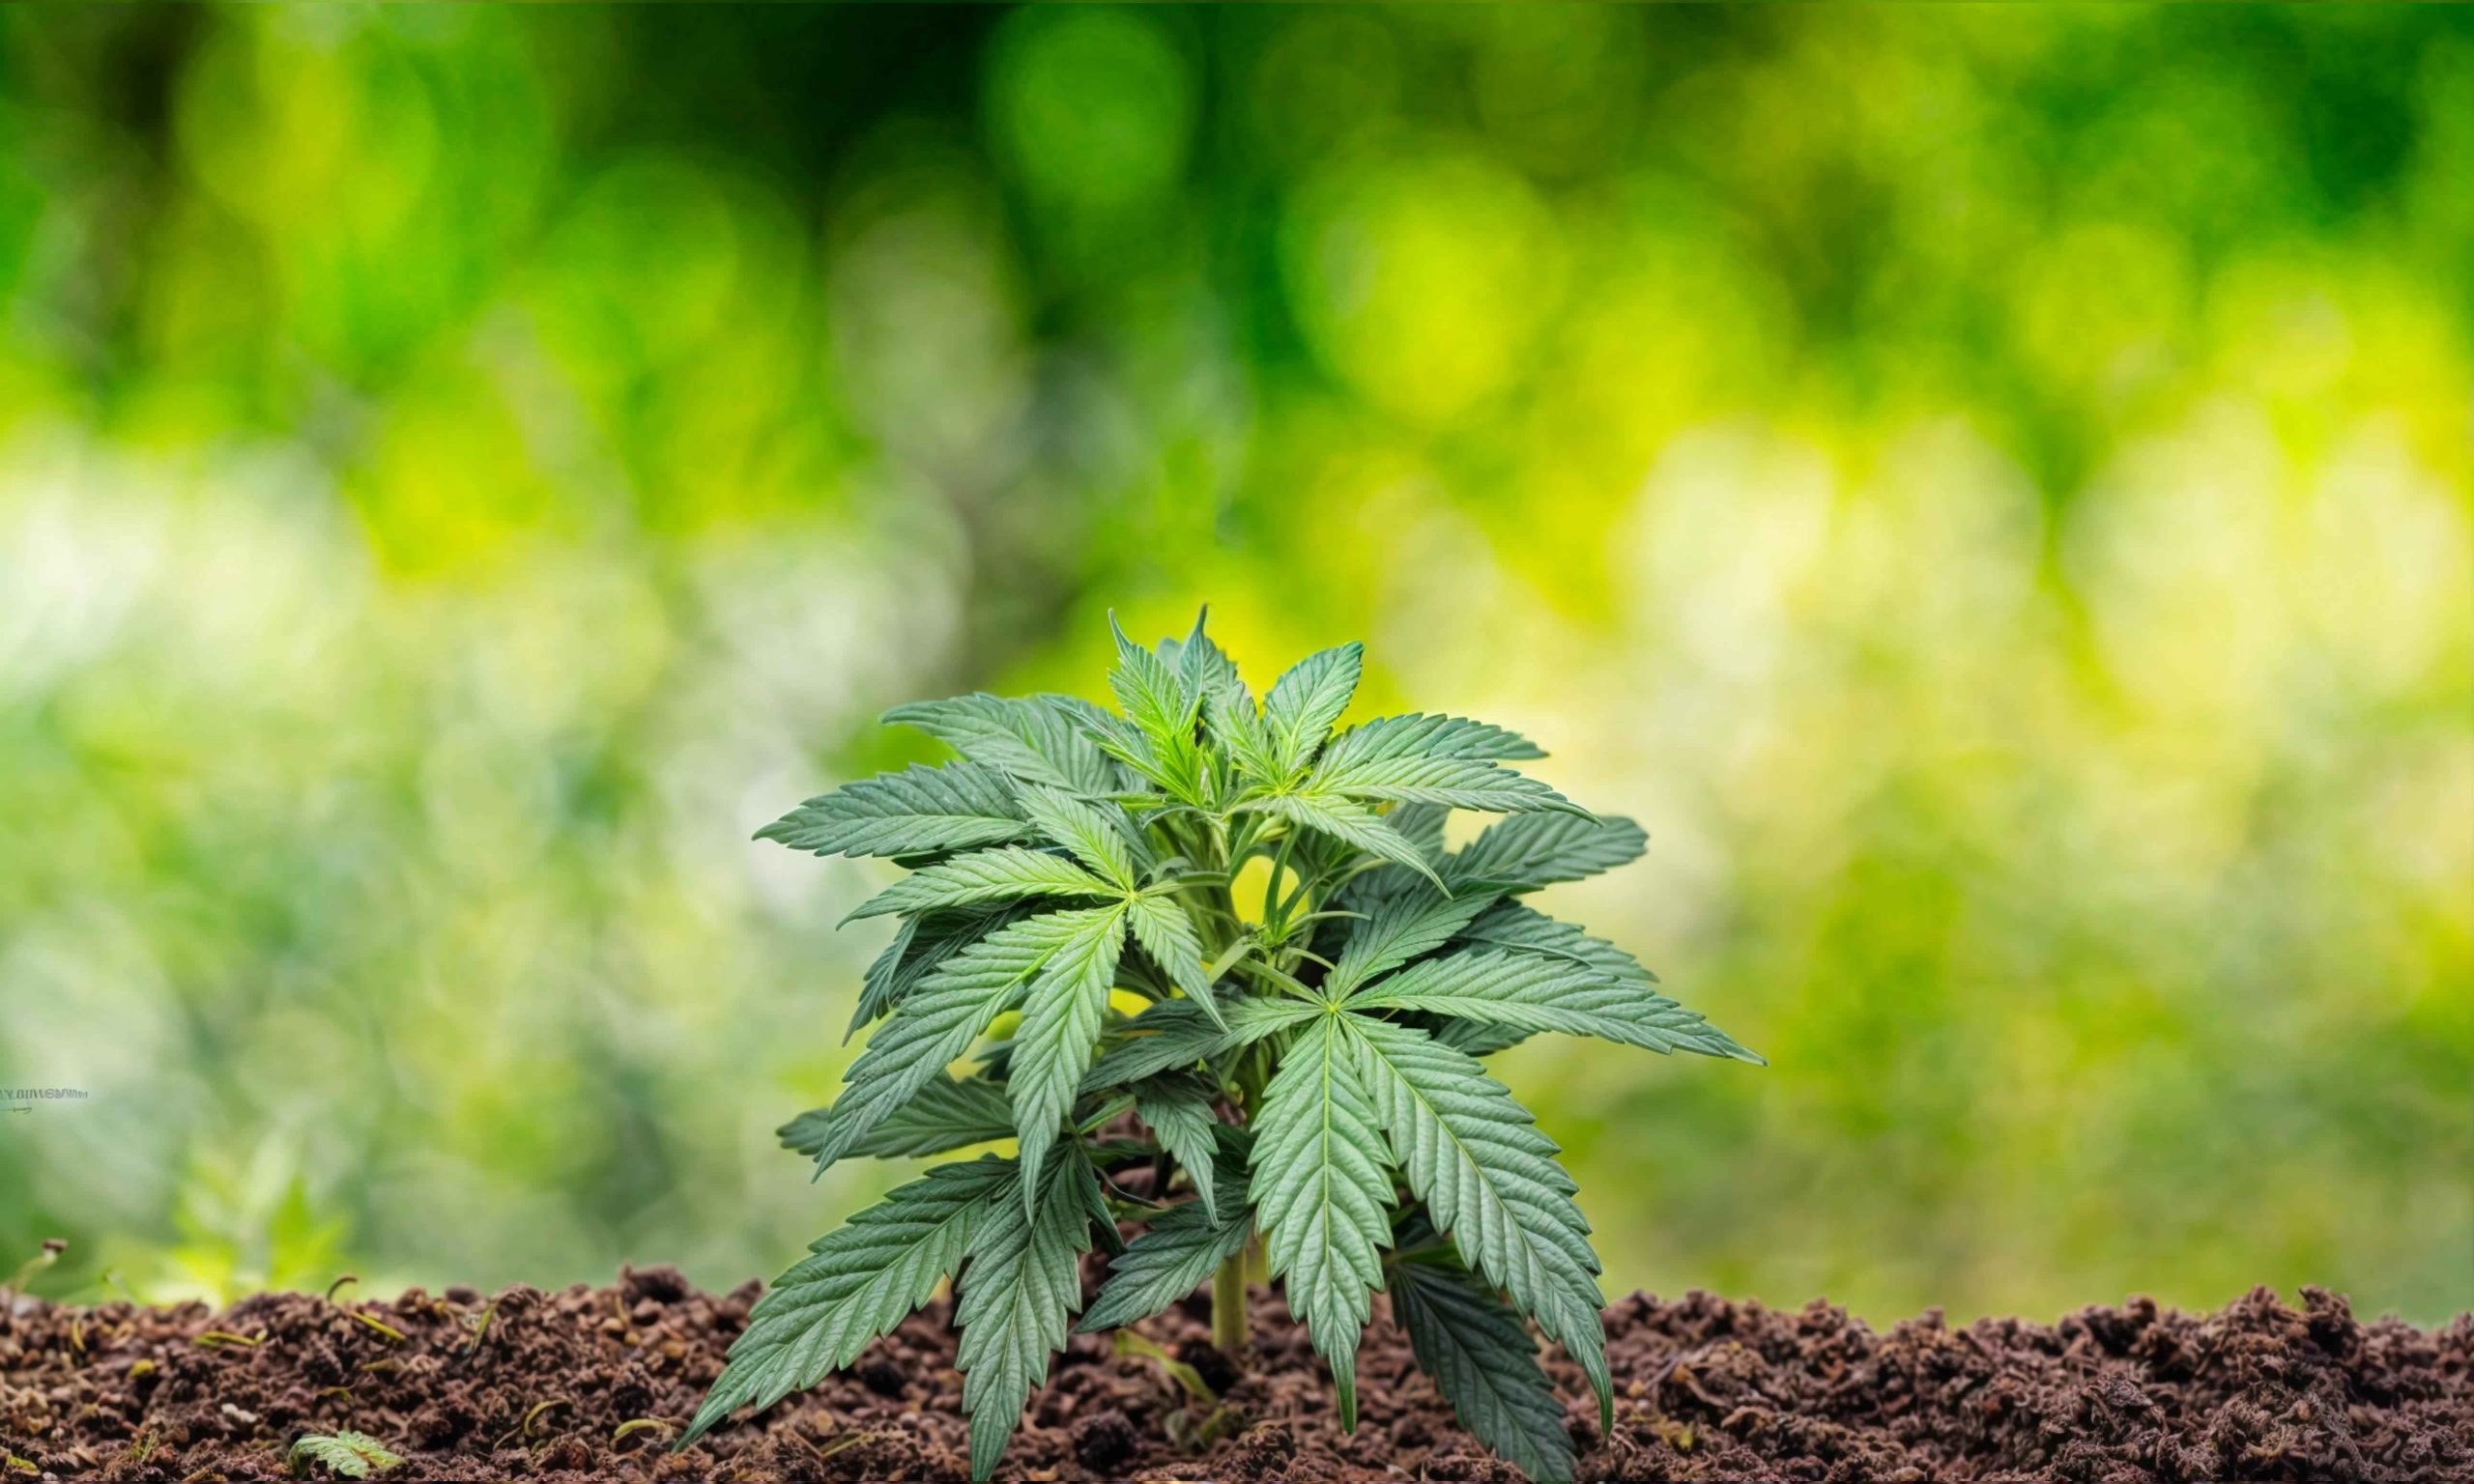
Week 4-5: Rapid Growth and Development
The rapid growth and development phase marks a significant milestone in your autoflowering cannabis plants’ journey. During this period, the plants will experience exponential growth, both in height and foliage. It’s essential to provide adequate space between plants to prevent overcrowding and ensure proper airflow.
Pruning and training techniques can be implemented during this stage to optimize canopy distribution and light penetration. Consider topping or FIMing (cutting the growing tip) to encourage lateral growth and multiple colas. Low-stress training (LST) methods such as bending and securing branches can help create an even canopy and maximize bud production.
Week 6-7: Pre-Flowering Stage
As your 6-week-old autoflower cannabis plants approach the pre-flowering stage, they will exhibit signs of sexual maturity, such as the formation of pre-flowers. This phase is critical for preparing the plants for the flowering stage and maximizing bud development. Adjust your nutrient regimen to include bloom-specific fertilizers rich in phosphorus and potassium.
Monitor environmental factors such as humidity levels and temperature to prevent stress-induced issues. High humidity can lead to mold and mildew, especially in dense foliage areas, so maintain humidity levels between 40-50% during this stage. Consider defoliating excess fan leaves to improve airflow and light penetration to lower bud sites.
Week 8-9: Flowering Phase
The flowering phase is an exciting period as your autoflowering cannabis plants transition from vegetative growth to bud production. During this stage, they require specific nutrients to support flower formation and resin production. Switch to a bloom-focused nutrient formula with higher phosphorus and potassium levels.
Maintain a consistent light cycle of 12 hours of light and 12 hours of darkness to simulate natural autumn conditions and trigger flowering. Monitor trichome development using a magnifying tool to determine the optimal harvest time. Trichomes should appear cloudy or amber-colored for peak potency and flavor.
Week 10-11: Ripening and Harvesting
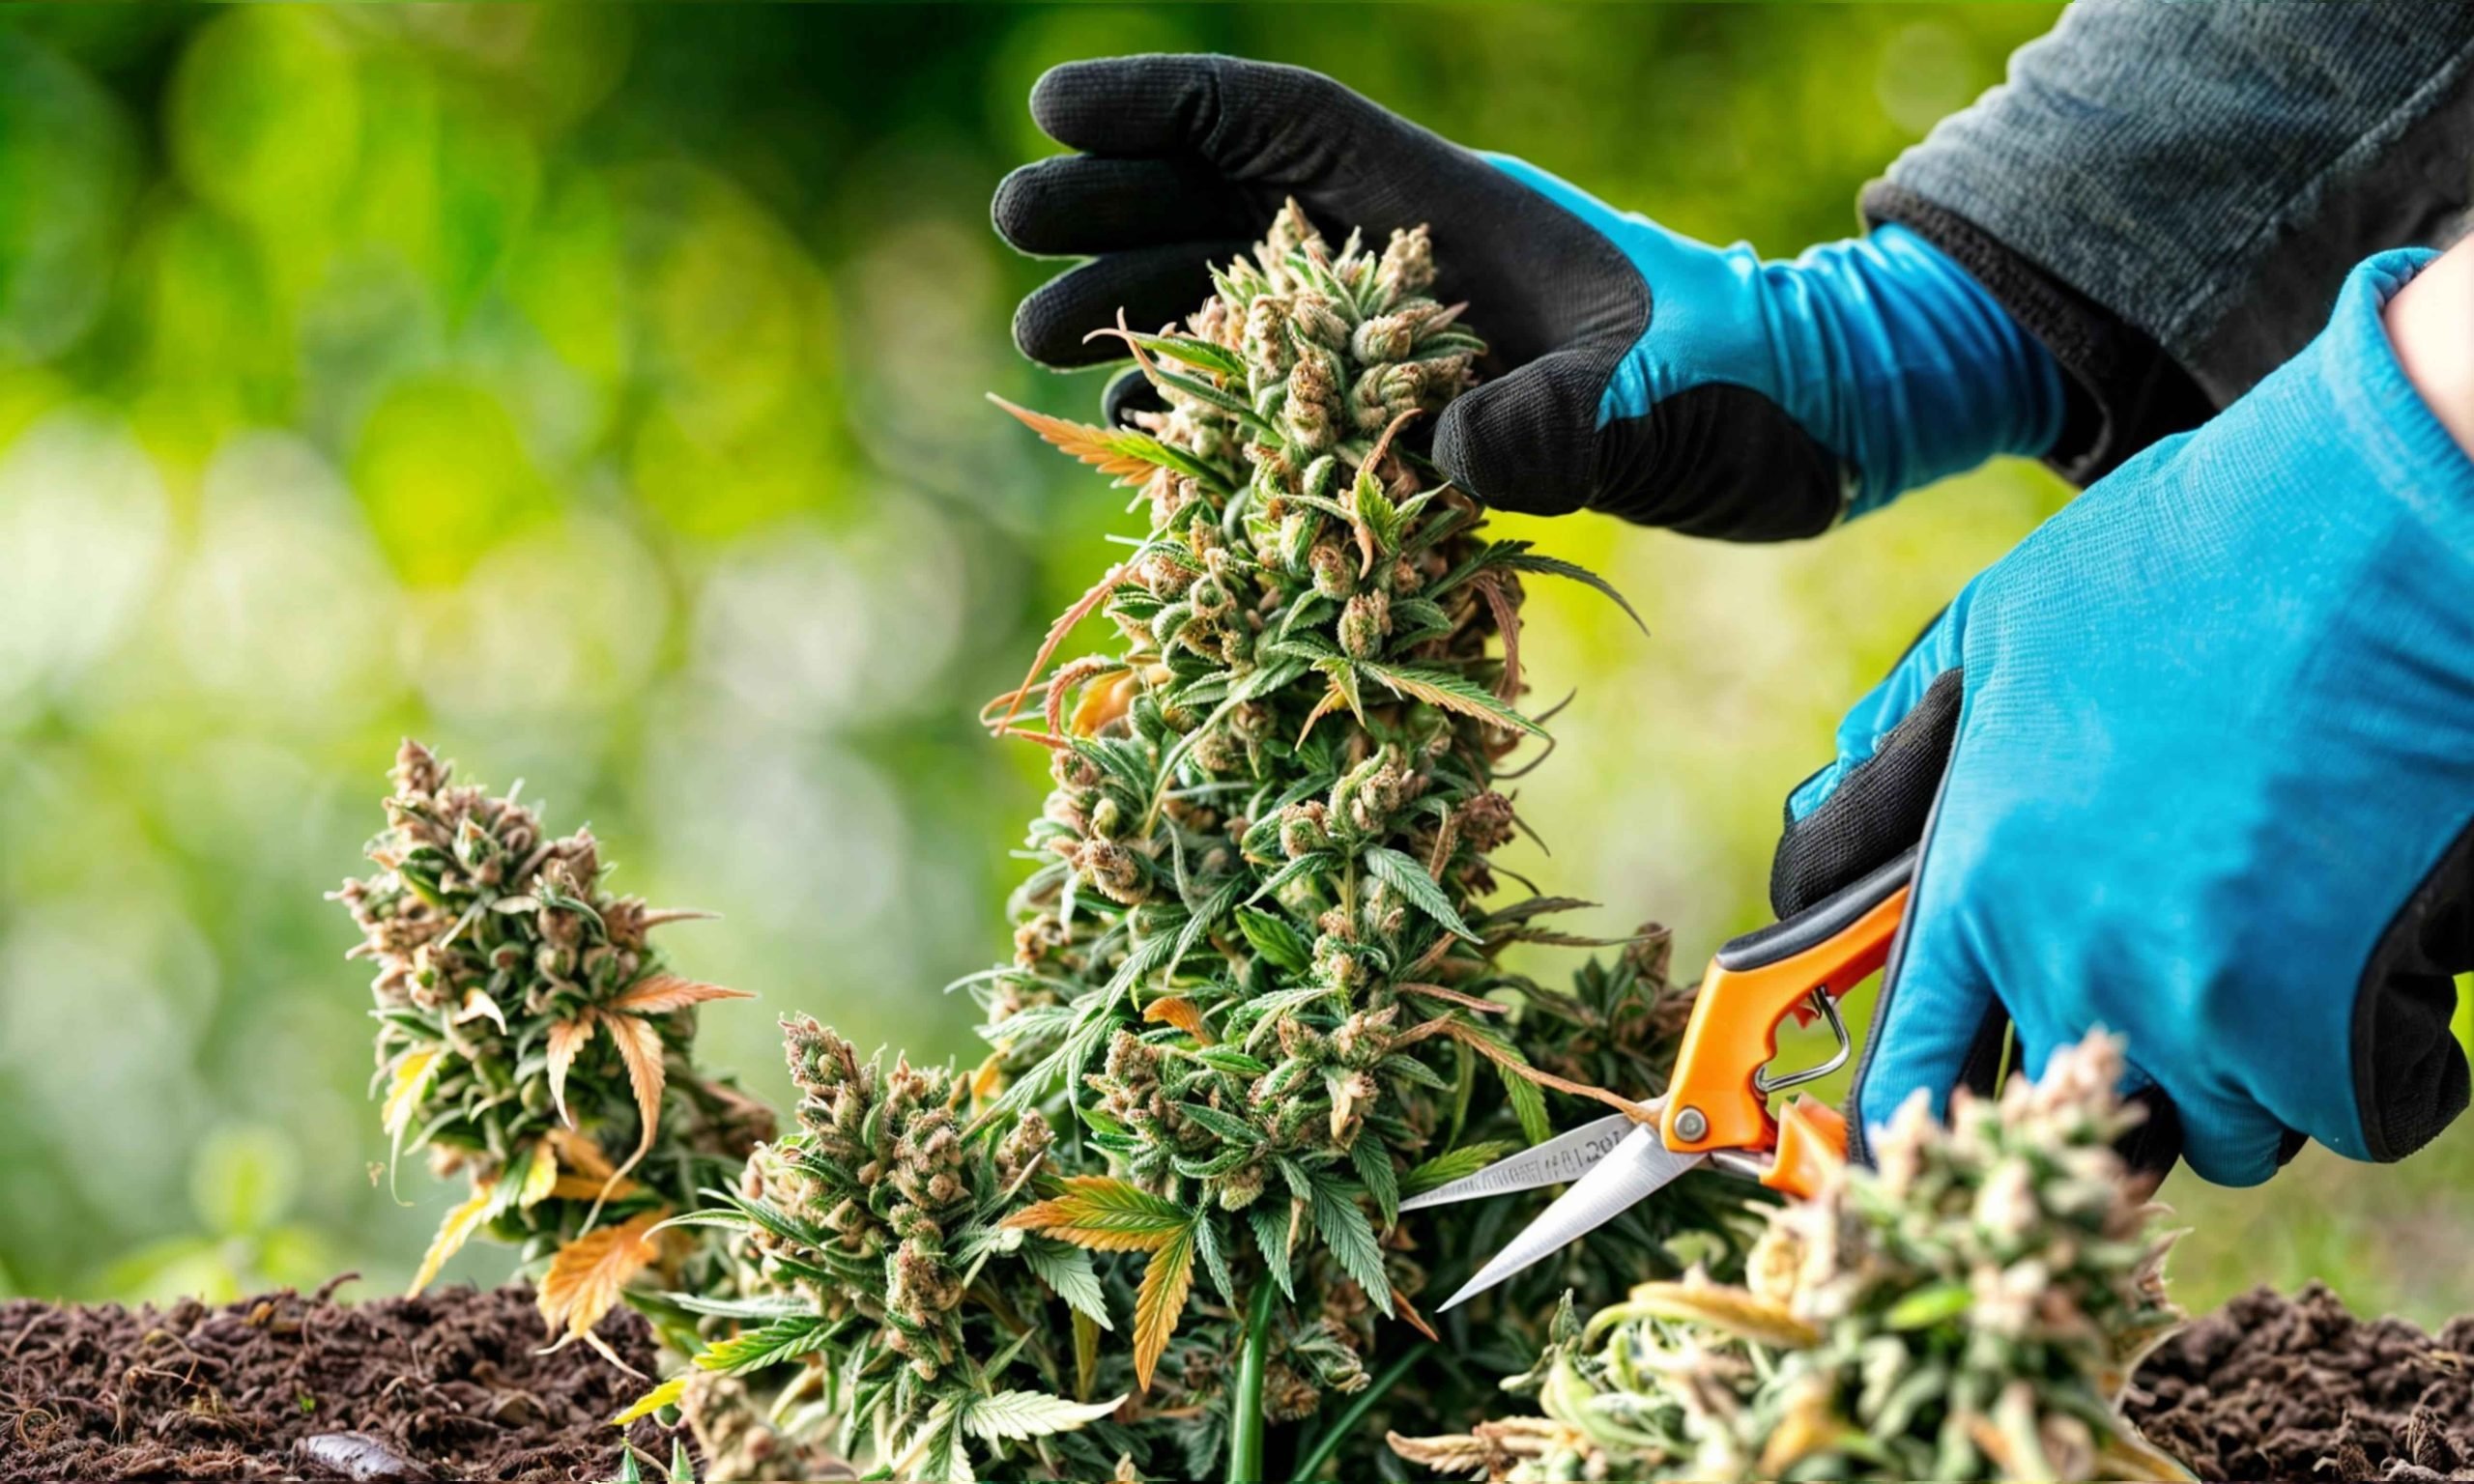
As your autoflowering cannabis plants near maturity, it’s crucial to prepare for the final stages of ripening and harvesting. Begin flushing the plants with plain water to remove excess nutrients and improve the overall quality of the buds. Flushing helps reduce harshness and enhances the flavor profile.
Harvesting should be done with precision to preserve the potency and terpene profile of the buds. Use sharp pruning shears to carefully trim the mature buds, leaving a small stem for handling. Dry the harvested buds in a well-ventilated, dark room with temperatures around 60-70°F (15-21°C) and humidity levels of 45-55%.
Conclusion
Congratulations on completing our in-depth guide to growing autoflowering cannabis plants. By following the detailed insights and expert tips provided in each weed plant picture week by week, you are well-equipped to achieve exceptional results in cultivating high-quality autoflowering cannabis. Remember to prioritize environmental factors, nutrient balance, and careful monitoring throughout the process for a successful harvest.
FAQs
FAQ 1: Can autoflowering cannabis plants be grown outdoors?
Yes, autoflowering cannabis plants can be successfully grown outdoors, provided they receive adequate sunlight, water, and nutrients. Outdoor cultivation allows for natural light cycles and can result in robust plants with high yields.
FAQ 2: What is the average lifespan of an autoflowering cannabis plant?
Autoflowering cannabis plants typically have a shorter lifespan compared to photoperiod strains, ranging from 8 to 12 weeks from seed to harvest. This rapid growth cycle makes them popular among growers seeking quicker turnaround times.
FAQ 3: Do autoflowering cannabis plants require different nutrients than photoperiod strains?
While autoflowering cannabis plants have similar nutrient requirements as photoperiod strains, they may benefit from nutrient formulas designed for quick growth and flowering. These formulas often contain higher levels of phosphorus and potassium to support bud development.
FAQ 4: Can autoflowering cannabis plants be cloned?
Yes, autoflowering cannabis plants can be cloned using techniques such as cuttings or tissue culture. However, it’s important to note that clones inherit the genetic age of the parent plant, so they may not retain the same rapid growth and flowering characteristics as seed-grown autoflowers.
FAQ 5: How do I determine the potency of autoflowering cannabis buds?
The potency of autoflowering cannabis buds can be determined by examining the color and trichome development. Trichomes should appear cloudy or amber-colored for optimal potency. Additionally, testing the buds for cannabinoids and terpenes can provide precise potency and flavor profiles.


